The first pattern I sewed in my pattern review and comparison of women’s popover tunics is the Hey June Cheyenne Tunic *affiliate link. You can review the muslin stage of all four patterns in my last post to catch up. I’m going in order of pattern label alphabetically and that’s how I will present the information in the final comparison post.
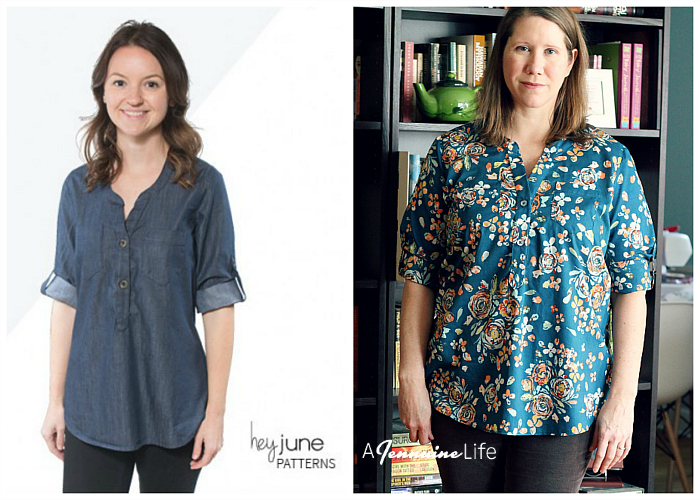
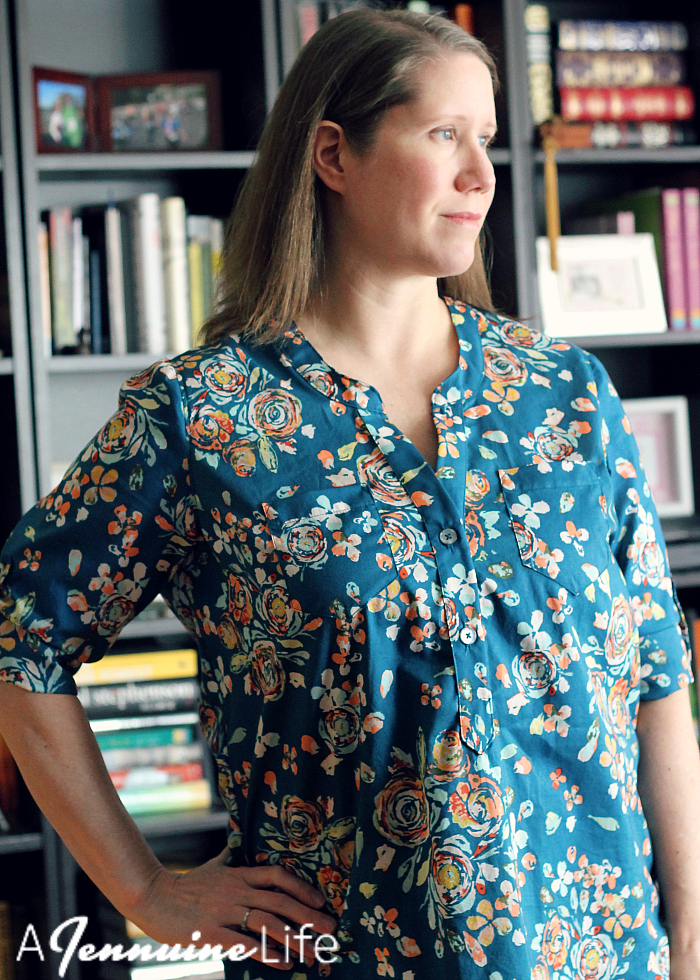
Pattern Details: The Cheyenne Tunic is for women’s sizes XS to 2XL, which covers 32″ to 44″ bust. There are two views – View A is a standard button down with a full placket and collar. I’m sewing View B, the popover version with a dropped neckline, shaped half-placket and no collar.
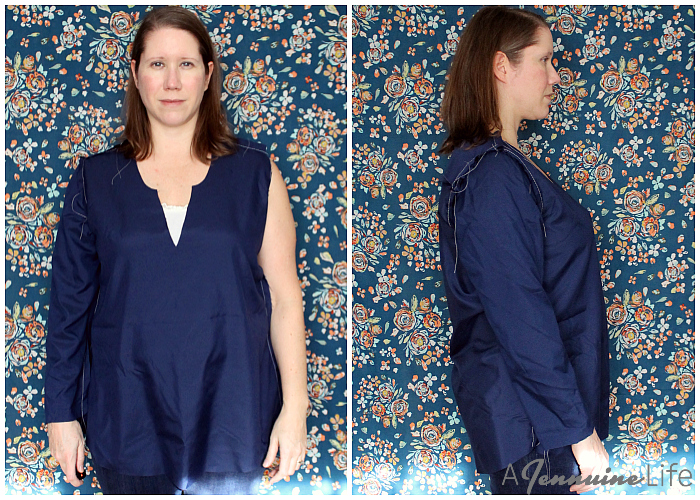
A quick refresher of my muslin showed that I didn’t need any adjustments for my shoulders, nor a FBA. I did lengthen the tunic by 1″ at the lengthen/shorten lines.
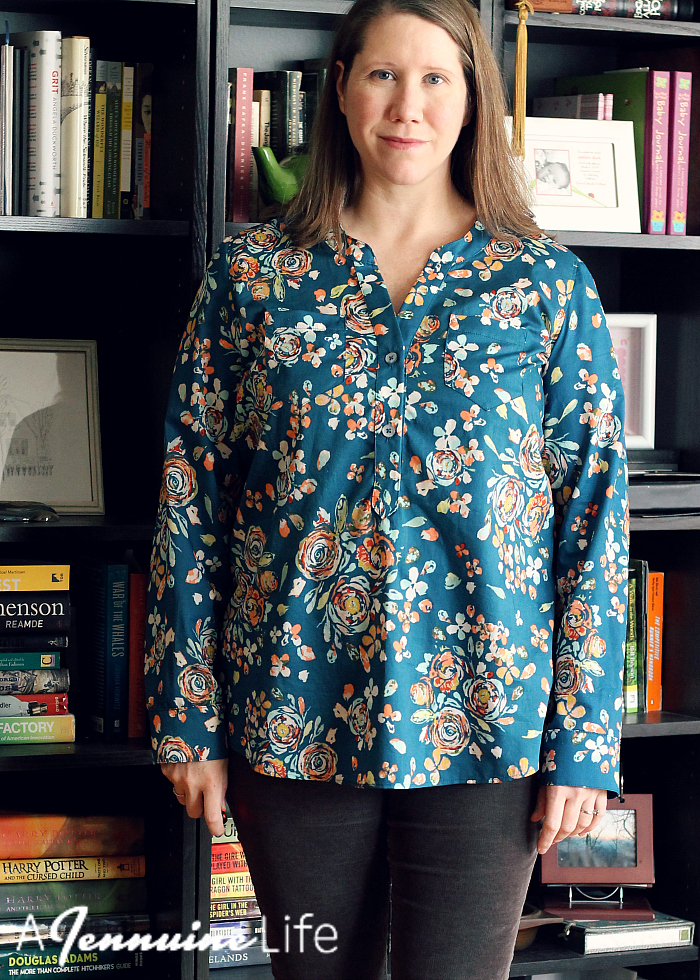
Drafting: A++ All the notches, drill holes, labels, grainlines, etc. are very clear and where needed, including button/buttonhole guides, pocket placement and lengthen/shorten lines. As there are layers for printing, there are not text size labels, but the size lines are differentiated with different strokes etc. I printed only the size I was making, but it would be easy to follow a size among the rest if you don’t utilize that option. The grading is even, which means the steps between sizes are the same.
Sewing: I’m glad the alphabetic-by-designer started my sewing with the Cheyenne because I knew it would require time and attention because of the care in construction. All seams are enclosed, including French seamed sleeves and side seams, a double-layer yoke with enclosed shoulder and back seams – all the bells and whistles. I didn’t have to turn on my serger at all for this project and it looks lovely inside and out.
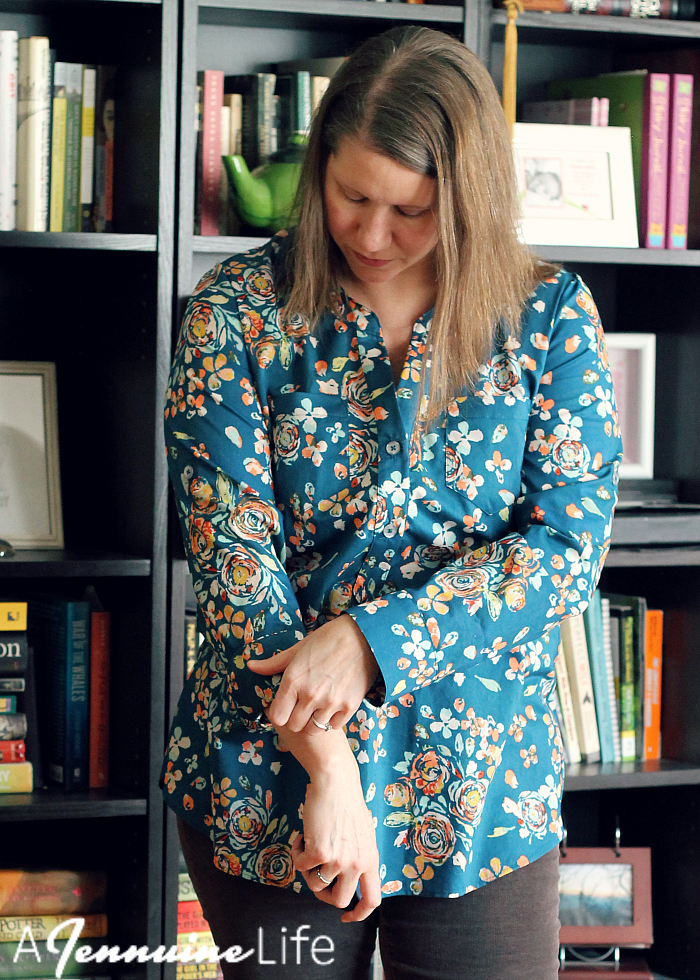
The tutorial is thorough yet concise with technical drawings. If that’s not your jam, there’s also a photo sew-along on her blog, which I did reference to ensure I was constructing the tower placket for the sleeves correctly. I didn’t have any difficulties sewing; it was smooth and enjoyable.
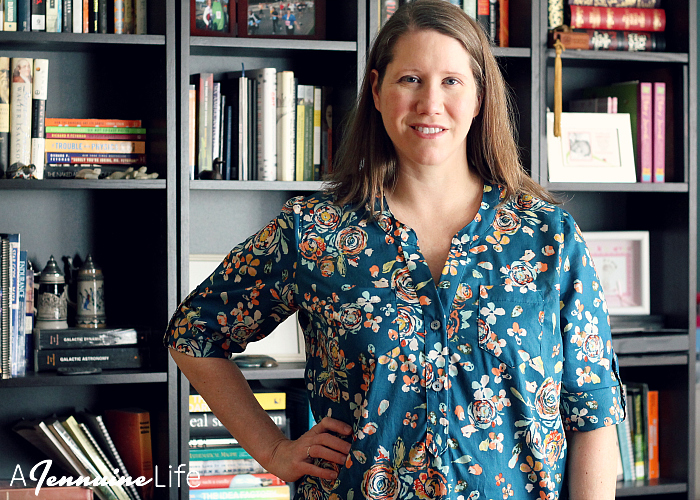
If I had to get super nit-picky, the turn under for the collar made it a little difficult to catch into the collar edgestitching – the collar facing is pressed under 1/4″ and the collar is sewn with 3/8″. If the instructions were to stitch in the ditch from the collar attachment this would work a dream, but when edgestitching I had to be very careful to not miss the turned under edge of the undercollar. This issue was worsened by my running out of wash away Wonder Tape so I had to rely on pins. The cuffs had matching turn under and seam allowance which in my opinion made the sewing much easier and neater there. When I make another, I’ll change this one area of construction.
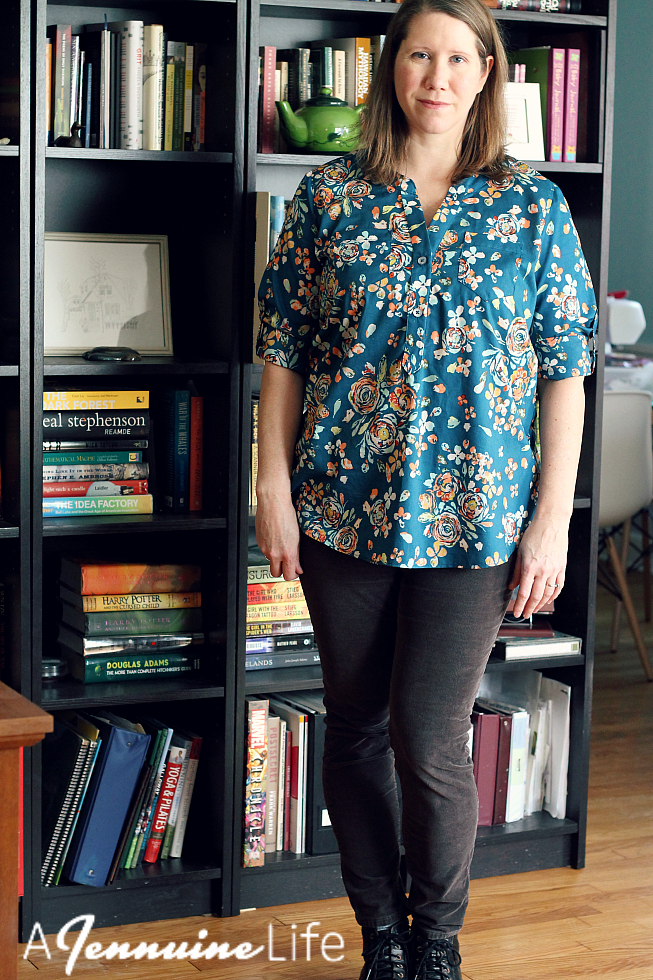
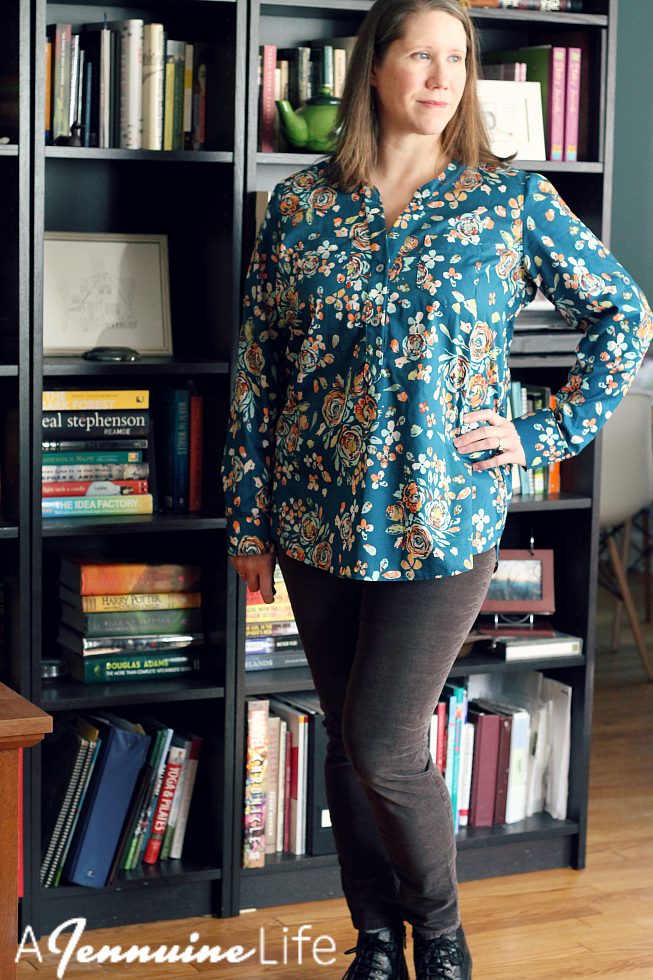
The neckline is a two part shaped placket. It’s a fairly low neckline, such that I’ll be sure to layer it over a camisole or t-shirt or risk showing off my very non-glamorous bra. The lightweight fabric I used will actually make a very pretty beach cover if I decide to do that.
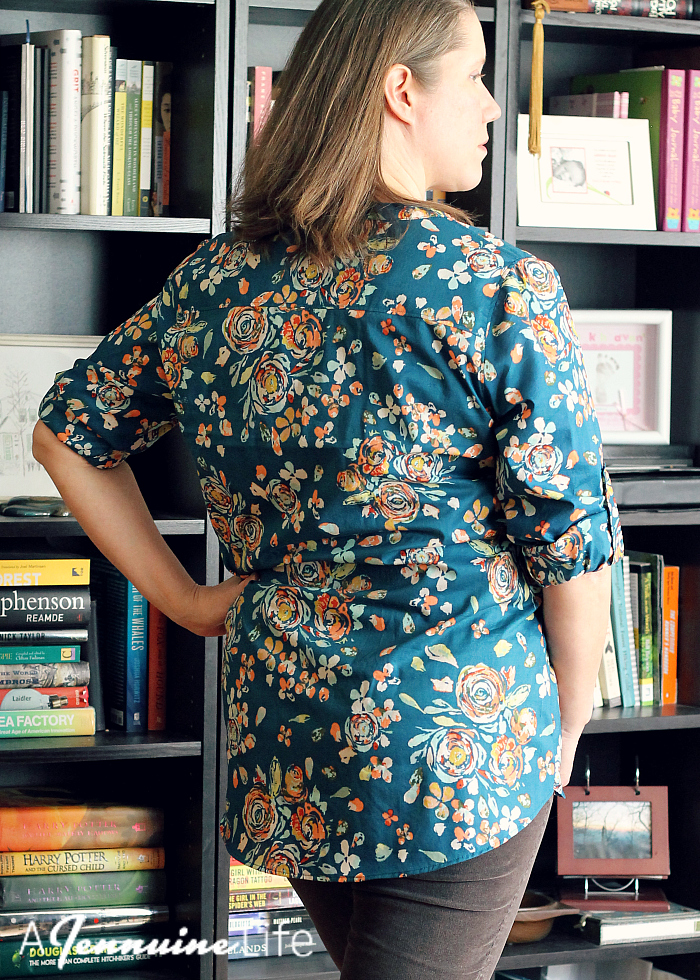
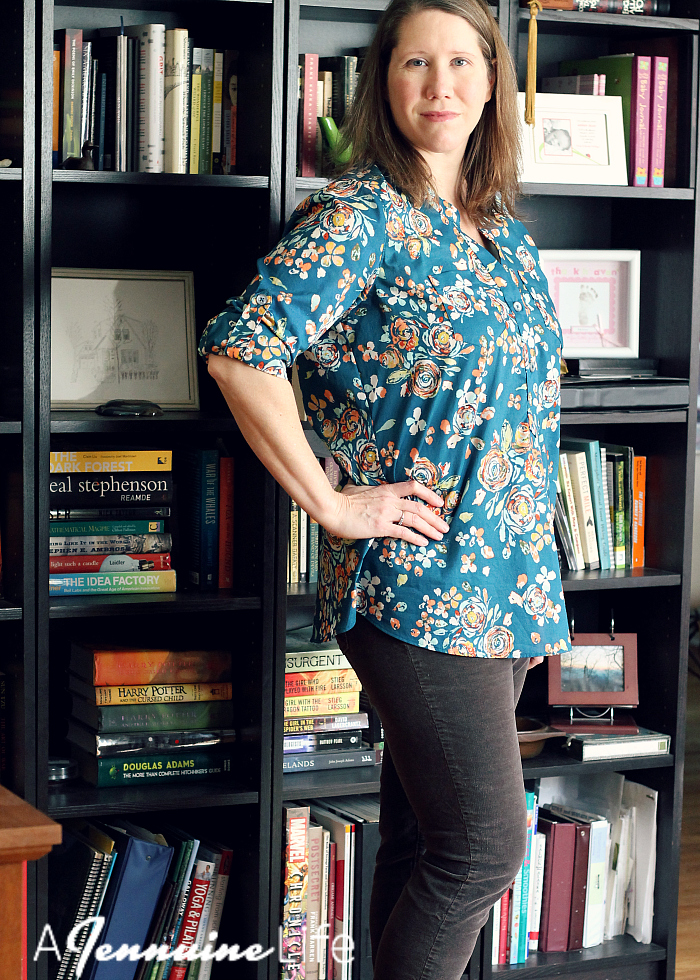
I did choose to ignore my swayback during the muslin stage. I haven’t yet branched into that adjustment, and when I’m not wearing clingy corduroy I imagine this won’t be as pronounced. The bit of pulling in the back is not a fault of the pattern. I’ve lost about 25 pounds in the last eight months and that little spot above my bra behind my shoulder has been stubborn and seems to only get wobblier and not any smaller.
Also, taking photos of yourself with tripod and remote trigger makes it difficult to see where the fabric has hung up or wrinkled awkwardly. If I were photographing a friend, I would have adjusted the clothing in some shots and retaken photos. I only have so much time to set up and take photos with good lighting so what you see is the best I’ve got.
Sewing took place over two days. I had cut all four patterns in one day to prepare, so that part was already done. I sewed the placket, pocket, and collar one day and the sleeve placket, armscyes, hem, side seams and cuffs the next.
Based solely on it’s own merits, I would absolutely recommend this pattern. The instructions are clear and succinct for seasoned shirtmakers, and with the full photo sew-along even a much newer sewist could accomplish this pattern with success.
I’m currently working on the Itch to Stitch Mila Shirt and expect to finish sewing today or tomorrow. Keep an eye out!
Outfit Details:
Pattern: Hey June Cheyenne Tunic View B *affiliate link
Fabric: Art Gallery Fleet & Flourish Voile Swifting Flora Swell

This is fantastic. I love your review. When I get back to sewing I will definitely think about this one. Thanks for taking the time to create these reviews!
I am really enjoying your series. Agreed, it is tricky to take photos of yourself! I’ve had the Cheyenne in my pattern stash since it first came out and now I’m anxious to try it out. Thanks for sharing your thoughts!
I’m loving this series – and your Cheyenne looks lovely. The muslin post was fabulous – learnt a lot.
This looks so nice and neat. And the attention to detail with french seams must make for a very nice inside too!
I love this! This fabric is so nice. I haven’t seen anything made in this fabric that didn’t look fabulous.
I think you’re the first person to mention that the neckline is low. That’s often an issue for me too. I always end up raising the neckline on most patterns.
This tunic looks phenomenal. I’ve always wanted to sew this pattern, and I think I will this summer.