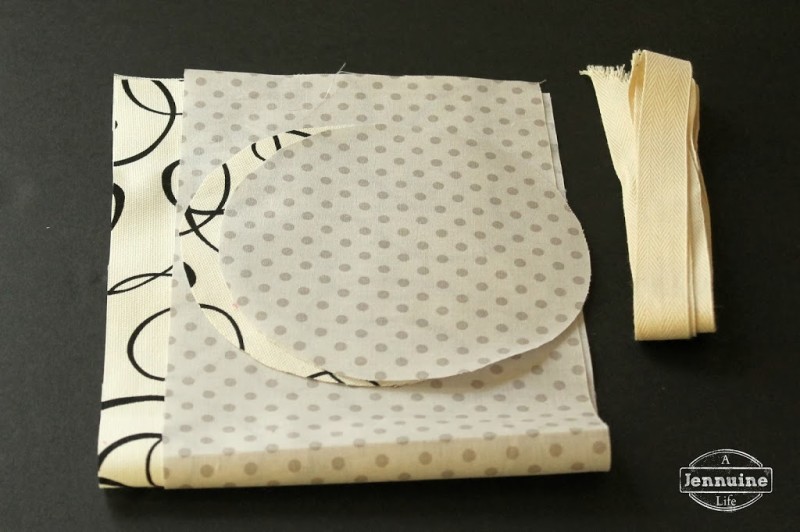
Start by choosing fabrics. Â I recommend one of the fabrics be a heavier decor-weight so you don’t need to add interfacing or end up with a floppy tote.
Then unless your child is a math prodigy, you get to do some calculations. Â Find a plate about the size you’d like the bottom of your tote to be. Â Trace the outline onto each of the fabrics your tiny sewist chose. Â Measure the diameter of this circle, and subtract .75″ for the seam allowances. Â Multiply the result by 3.142 (pi). Â Add back .75″ and you have the width needed for the sides of your tote.
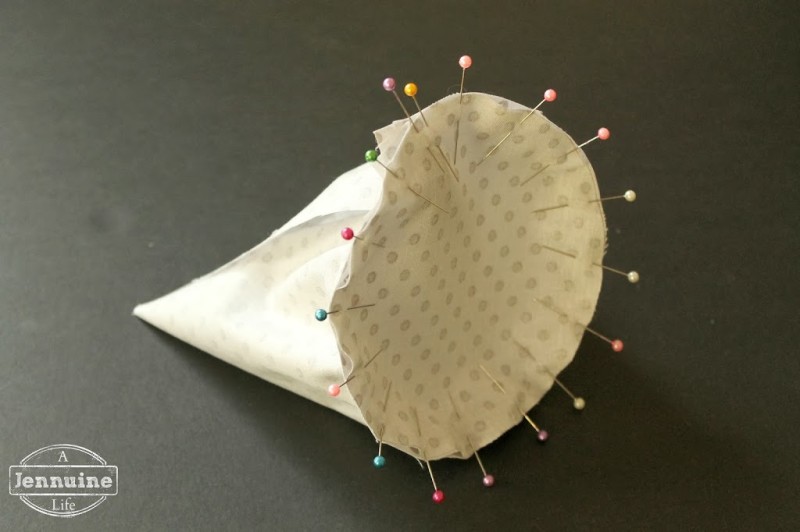
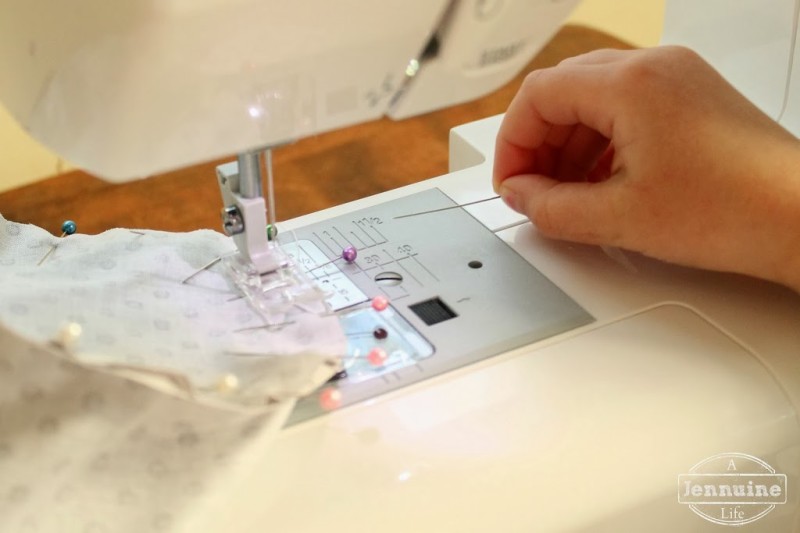
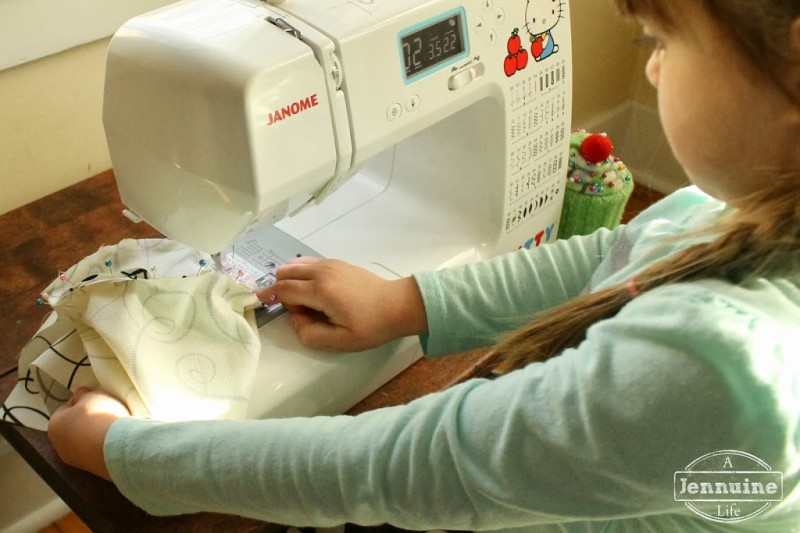
With right sides together (RST) pin the long edge of one of the sides to the bottom. Â Since one of the objectives of this lesson is to practice removing pins, I used them instead of Wonder Tape or clips.
Starting just beyond where the sides meet, begin sewing with a 3/8″ seam allowance. Â Backstitch to begin and then continue around the circle, pulling each pin as it starts to go under the presser foot.
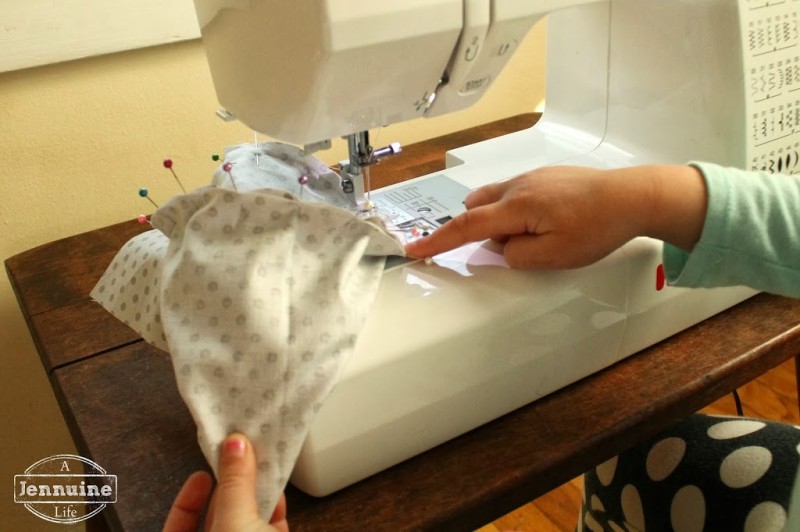
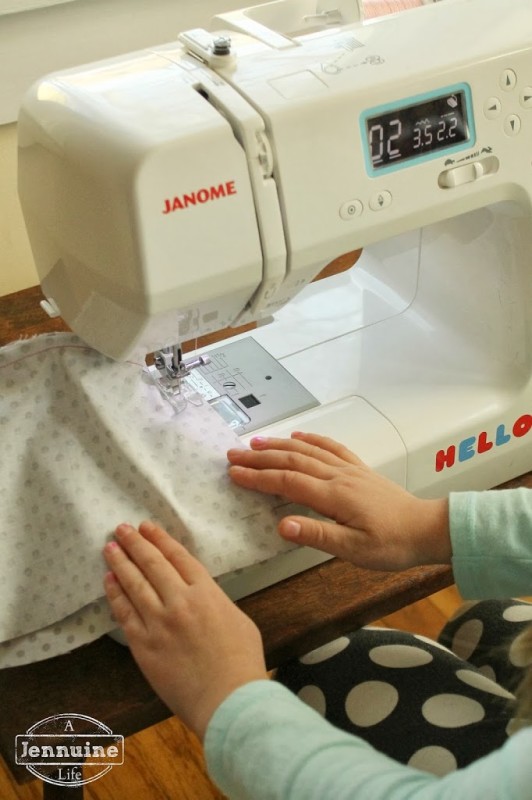
For this continuously curved seam, show your child how to guide the fabric as it approaches the presser foot and also to pull the side piece straight to the left so it doesn’t get pulled into the stitching at the bottom.
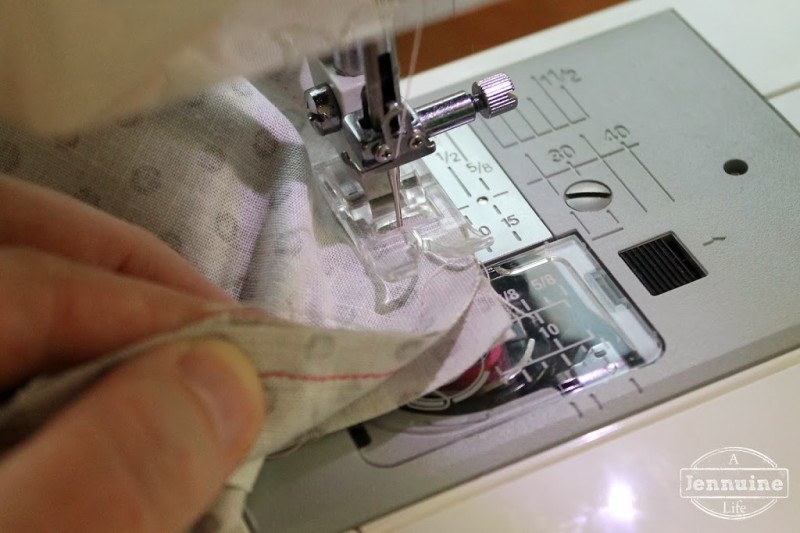
As your child approaches the beginning point, make sure the overlapping seam allowances for the sides are aligned and pulled toward the front. Â Backstitch when they reach the beginning.
Starting at the bottom, sew the side seam together, backstitching at the beginning and end.
Repeat with the pieces for the other fabric. Â Press the top edge of both tote pieces inside about 1/2″.
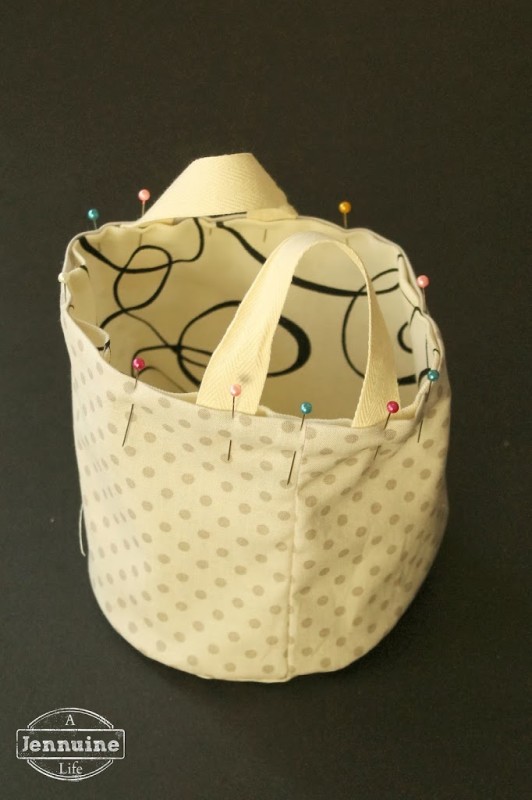
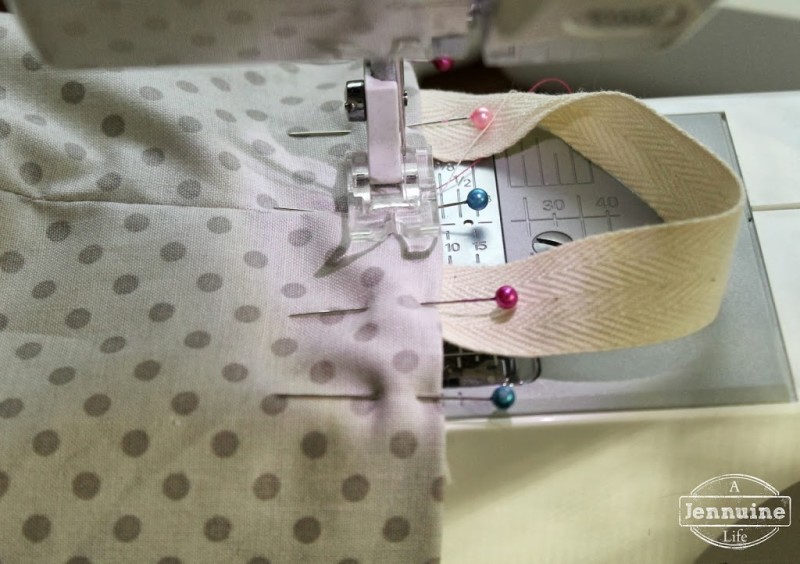
Turn one of the tote pieces right side out and nest the other inside. Â Align the folded edges and pin in place. Â Decide how long you’d like the handles to be and cut to that length. Â Tuck inside the top edge and pin.
Sew all the way around the top edge. Â Adjust the needle to be all the way to the right so the stitching is close to the top. Â Add a second row of stitching if you like.
I did these last steps because while I was getting the pieces ironed and pinned, Arden tripped over our dog Sophie and hit her chin on the bottom of a stool which was turned upside down. Â It left a scrape and a bruise, but she was a trooper; she just wasn’t up for finishing and we needed to get our breakfast nook put back together for dinner.
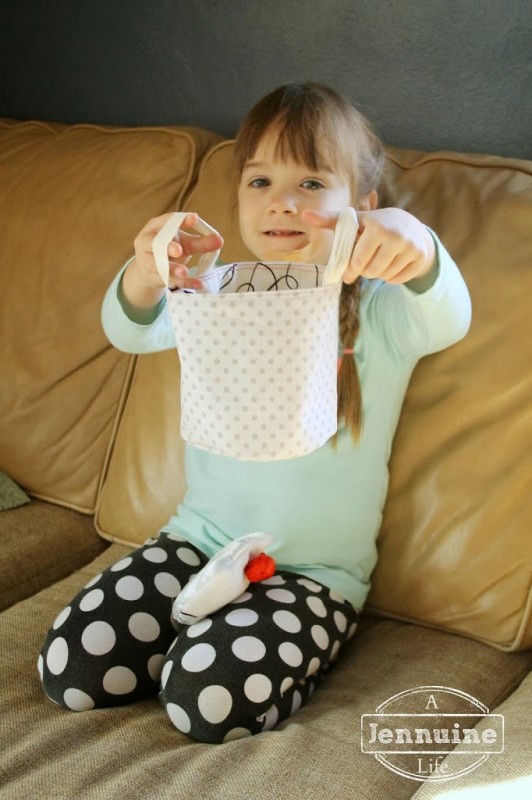
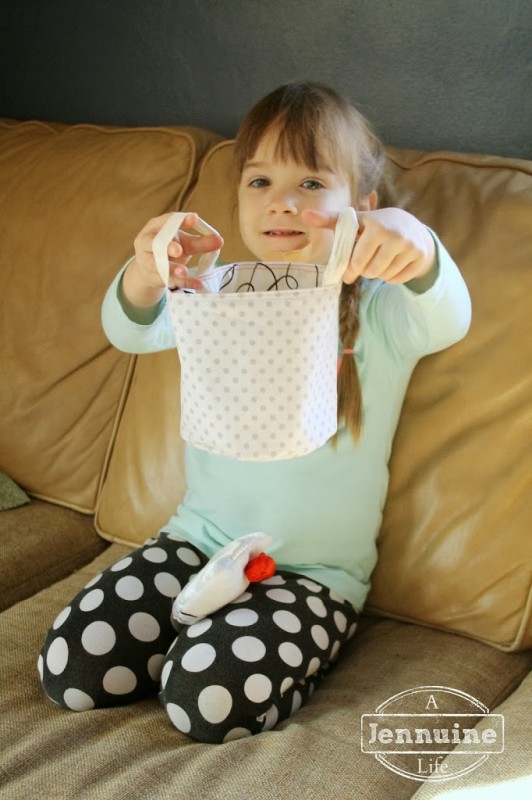
Here’s Arden with her finished bucket tote. Â Her chin is bandaged up and she has an ice pack in her lap. Â The way this is constructed, you can reverse it to whichever fabric you prefer to be on the outside.



definitely going to try making these with my girls!
I think this is amazing, I am pinning again, I know I pinned a previous lesson. I want to teach my daughter and my boys this summer!
i loved following your 4 yr old daughter learning how to sew. You have such a smart daughter and great attention span and her wanting to listen to what you tell her and to do what you tell her. Great job! What height was the table you used and chair? How did find a table and chair to fit her height?
I have two 5 yr old Granddaughters I would love to teach how to sew. I want to learn myself so I can teach them. When I got to your Lesson 11 and last project, I was ready for other lessons and other projects you have taught her but it wasn’t on it. Are you not teaching her any more?
If you have done more lessons and projects with her, I would love to see them.