I let Arden help choose the fabrics. Â She gets more excited about anything in which she gets a say and I’ll bet your kids do too! Â Quilting cottons are perfect for this because they come in and endless variety of colors and patterns, but if you’ve got a stash of vintage sheets, shirting, or any other tight, flat woven cotton those would work just as well. Â If you’ve got fabric that’s not really suitable for sleeping on but your child has chosen, then use it on the band and steer them towards a softer fabric for the main part of the pillow.
Adult tasks:
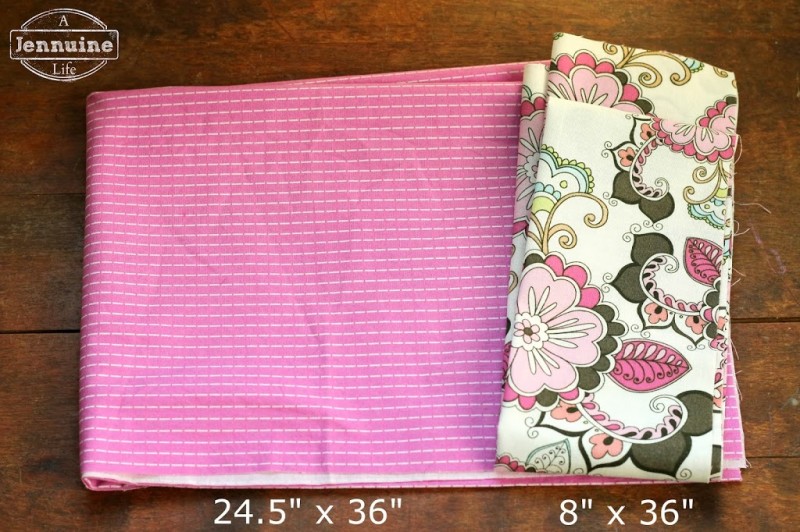
Cut a main piece 24.5″ x 36″ and a band 8″ x 36″ to fit a standard pillow. Â Press the band lengthwise with wrong sides together (WST).
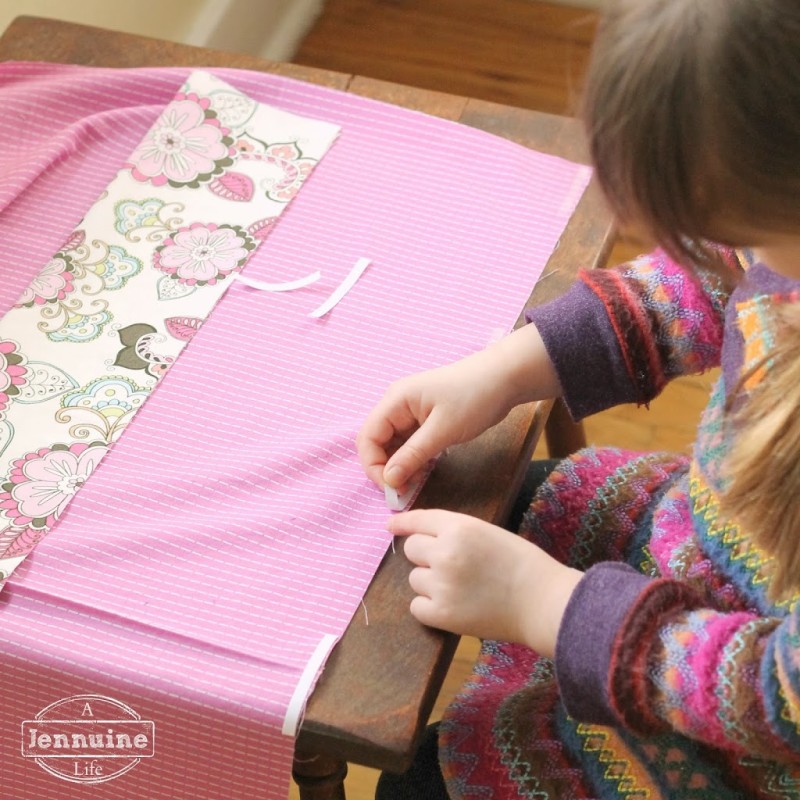
As my guest Jodi from Sew Fearless shared with you last week, Wonder Tape is a great alternative to pins. Â I had to ration the bit I had on my roll, so I cut it into pieces and helped Arden apply inside the long edge of the band and to the right side of the main fabric. Â She peeled away the backing and I lined everything up and she smoothed it into place.
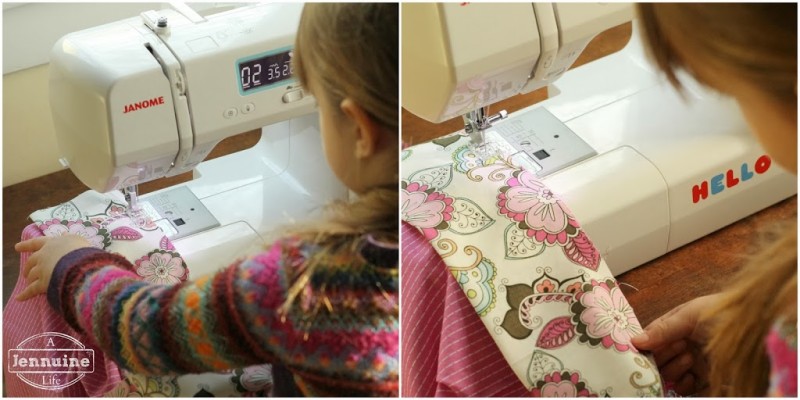
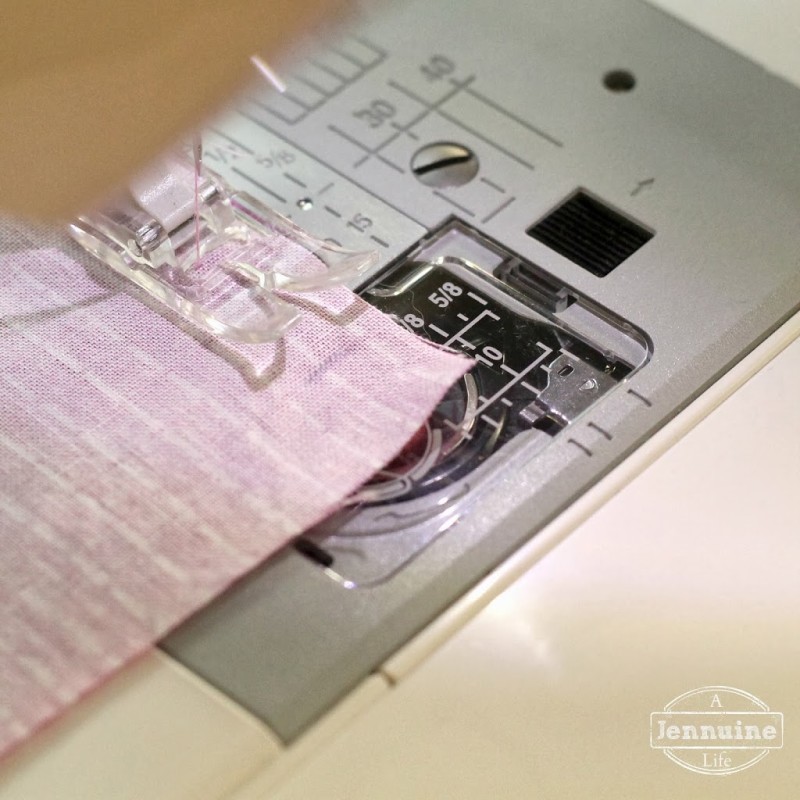
Set up the machine with a backstitch, or show how to reverse at the beginning and end if your machine doesn’t have this stitch selection. Â I showed her to sew with the edges of the fabric lined up with the edge of the presser foot. Â This is easier than trying to line up to a seam allowance on the needle plate. Â Most presser feet will sew with about a 3/8″ seam allowance, or you can move the needle to the left if you prefer a larger allowance.
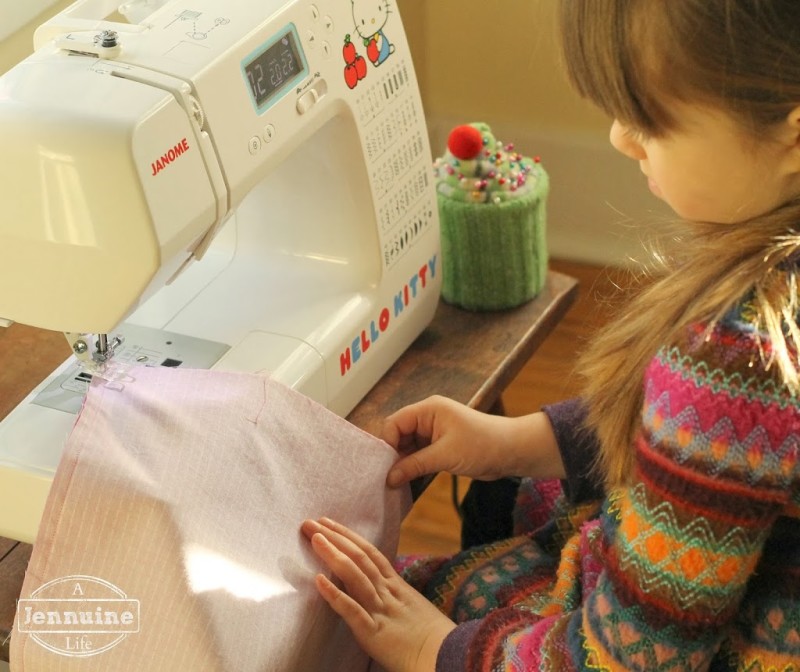
I showed her how to guide the fabric with one hand to the left of the needle and another to line up the fabric as it moves under the foot. Â She did really well for a while, but eventually got distracted and I had to help her guide the fabric. Â She is literally sewing at a turtle’s pace as she has the speed selection all the way down and doesn’t want to move it any faster. Â I think she’s ready to go a little faster and I think it would hold her attention longer, but that’s something to tackle next time.
She did go off track at one point and I stopped her and ripped out an inch or so with my seam ripper and had her start from there. Â I pointed out to her that one of the great things about sewing is that almost anything can be fixed.
Once she had the band sewn on, I serged the edges to prevent them from fraying, and pressed the band out from the main fabric. Â You can pink the edges, or zig-zag over them if you don’t have a serger. Â If you’ve got a little older student, you could have them topstitch along the edge of this seam.
I didn’t take pictures of the next bit as I was busy guiding Arden, but next up is to fold the pillowcase right sides together (RST) and sew along the two raw edges. Â I was out of Wonder Tape at this point, so I pinned this and pulled the pins out for Arden well before they would go under the presser foot.
To teach her to turn and pivot, I drew a line on the fabric where I wanted her to stop sewing and then made sure she knew where the needle down button was. Â You can also use the hand wheel for this.
With the needle in the down position, raise the presser foot, pivot the fabric around the needle, and then lower the presser foot when the fabric is aligned. Â Continue sewing to the end.
I serged these edges as well. Â Then I turned it right side out and told Arden to go grab her pillow from her bed.
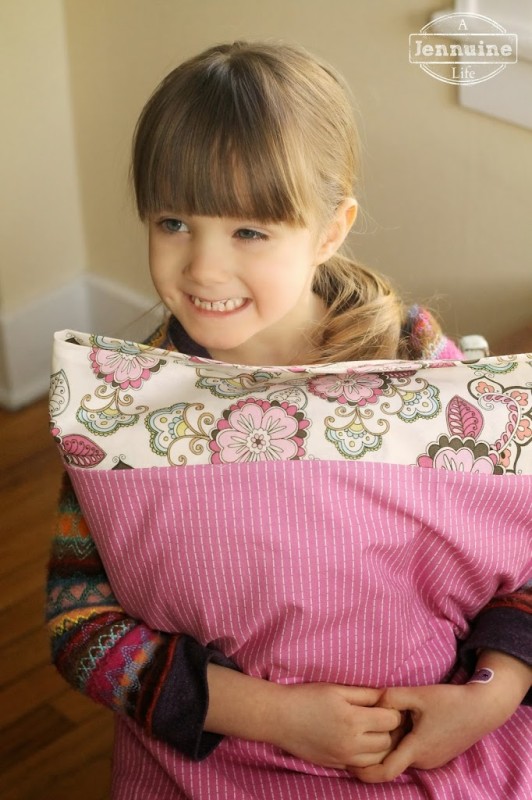
She’s pretty proud of her new pillowcase, and I’m impressed by how straight her seams are!
Next up: Lesson 8, Project 2



that is too cute!! gosh i love seeing little kids sewing!
so cute! i love the idea of using wonder tape instead of pins! will have to try that with my 6 year old.
THANK YOU SO MUCH for doing a gender neutral project. I’ve been looking all over for a series to teach my 6.5yo son how to sew and everything is a hair bow or a skirt! YAY! Will definitely be using your series over the summer to teach him to sew.
I wasn’t looking for a tutorial but I came across it and I am so glad I did! I also want to teach my kids how to sew but I am not very organized and all your tips and lessons are very helpful. Thank you so much for taking the time to put this tutorial together.
No problem! I’m enjoying hearing everyone’s stories about their kids learning to sew!
Thank you so much for this wonderful step by step tutorial. I just started teaching 10-11 yr old girls to sew and its a great tutorial and really is so encouraging to teach younger. I think I would want Mamas in on the 4-5 yr old range to teach together. Wonderful job on the photos!
Thanks so much, and I agree that a group of younger kids would be a lot to monitor by yourself. Having parents to help keep them on track sounds perfect, even if they’re not experienced with sewing.
Thank you, thank you! I volunteered to teach a sewing class with my machine to children at the school where my niece teaches. While I’ve been sewing all my life, teaching kids was a little scary! After following your tutorial, I have confidence
I can do a good job!
Gwen Elbert, Tucson, AZ
I am enjoying this series and look forward to using it with my grandchildren! I absolutely love the pillowcase project! The pride in her smile is priceless! Love, love, love the pin cushion too! It’s adorable!
Love your lesson ideas. I have been teaching girls, usually ages 9 and up, to sew for many years. Then along came a granddaughter…from the time she could stand she would watch me sew as she stood behind my sewing machine. At age 4 I told her she could try. I did many of your ideas including finding a small table and chair and letting her practice on paper. I was amazed by her understanding of the safety issues AND her fearlessness at making the machine “go”. I’ve had many older students who struggled with these things. One of the first things we did: I took a piece of solid colored canvas and drew a shapely line on it with a pen. Then she chose the decorative stitch she liked and she stitched it following the line. She learned awesome control in guiding her fabric. I started using this process with some of my older students who have trouble understanding how to steer their fabric to keep the seam straight. We made an adorable drawstring bag and she made another for a cousin who lives far away and she has never met. I took pictures of her making the bag and holding the finished product. Then, when I traveled to visit family, I delivered the bag to the cousin and showed her the pictures of it being made and took pictures of the delivery time which I then showed to my little seamstress upon returning home. What a special way for the cousins to meet! Now my granddaughter is 5 1/2 and always wants to sew with me. Last week I showed her how to make a headband. I was blown away by her perfect topstitching. She figured out all by herself that it is easier to sew straight going at half speed than going at the slowest speed. She made 4 identical headbands to give to her friends. All I did was watch! BTW, in the beginning I tried to do the ironing for her but she wanted to do it all by herself. I lowered the ironing board and set up the smaller iron and I nervously hovered over her ready to snatch the iron in a millisecond. She understood the safety issues perfectly and I never had to touch the iron although I did hold down the project here and there. Some kids get it right away, some kids take longer. Can you tell this is a passion of mine!