Today I’m guest posting at Caila Made for her Best of Summer Sewing series!
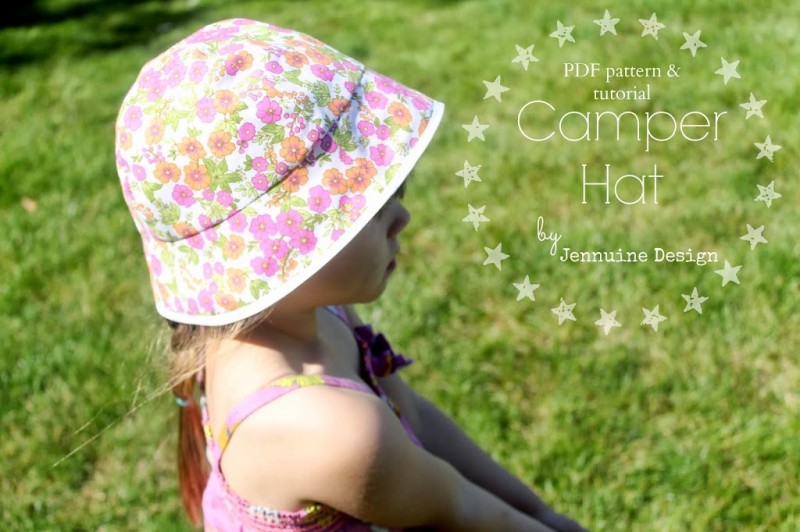
What pattern am I sharing? Â I’m stepping out on a limb and sharing a pattern I drafted and wrote myself – the Camper Hat pattern. Â I’ve been dying to start offering patterns and wanted to dip my toe in by sharing a simple free pattern for this cute little hat.
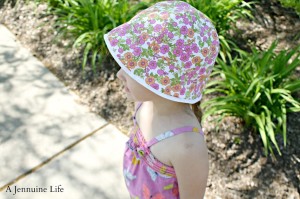
It’s perfect for girls or boys ages 2T – 5T, and it is even reversible for two hats in one! Â Sewing time is minimal – under an hour for sure and with practice I was whipping these out in about 30 minutes. Â There are two methods for finishing the hat which I share in the tutorial, and the simple design lends itself to all sorts of creativity and embellishment – piping, trims, color blocking, mixing patterns, adding straps, etc.
I hope you don’t think me too presumptuous for sharing this as my “Best of Summer Sewing”, but I really do love it and have had so much fun making different versions of it for my girls and even boy versions destined for my nephews.
The pattern is available for immediate download in my Etsy shop, or on Craftsy.
Camper Hat
Skill Level -Â Beginner
Materials -Â 1/4 yard each of main and lining fabrics
narrow double fold bias tape (method A)
3/8″ seam allowance throughout
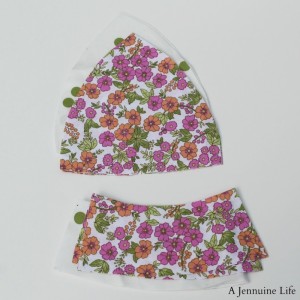
1. Cut 4 crown pieces from each of the main and lining fabrics. Â The notch at the bottom of the pattern is helpful to identify the orientation of the pieces as it is difficult to differentiate the sides once you begin sewing.
2. Cut 2 brim pieces on the fold from each of the main and lining fabrics.
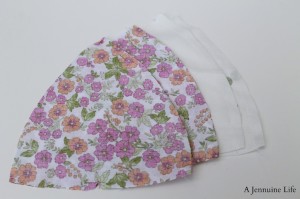
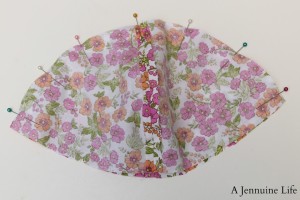
3. With right sides together (RST), sew along one side of each pair of crown pieces. Â Repeat with lining pieces. Â Press seams open; a tailor’s ham or rolled up towel will make this easier.
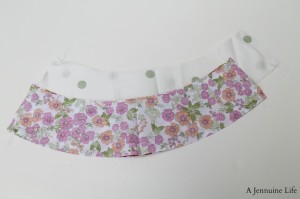
4. With RST, sew the brim pieces together. Â Repeat with the lining pieces. Â Press seams open.
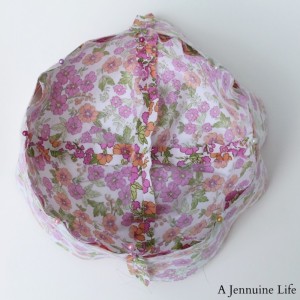
5. With RST, sew the two pieces created in step 3. Â Repeat with lining pieces. Â Press seams open. Â If you’d like to topstitch along the seams of the crown, this would be the easiest point to do so.
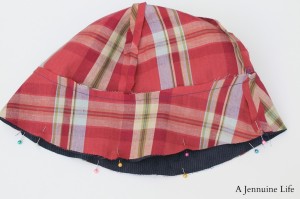
6. With RST, align and pin the crown and brim at the side seams and fold lines. Â Sew all the way around. Â Repeat with lining pieces. Â Press seam allowances toward the crown.
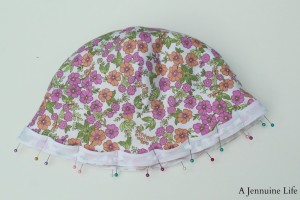
7A. The first finishing method uses bias tape to bind the edges. Â With wrong sides together and the bias tape opened align all the raw edges matching seams and fold lines. Â Fold about 1/4″ of the beginning edge to the outside to hide the edges. Â Continue pinning around the hat brim and overlap the folded over beginning edge by about 1/2″.
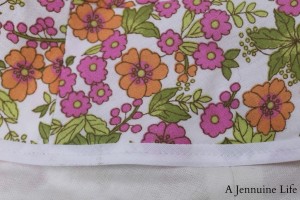
8A. Sew along the fold line closest to the edge. Â Then re-fold the tape around to the opposite side and stitch near the inside edge of the bias tape.
7B. Alternately, you can align seams and fold lines with RST. Â Stitch around brim leaving about 2″ open for turning.
8B. Turn hat right sides out. Â Press and stitch close to the edge.
I hope you enjoy this fun, simple pattern and I’d love to see your versions if you make one (or two or three)! Â Feel free to sell finished hats made with this pattern, just please give credit for the pattern to Jennuine Design or A Jennuine Life.
If you’re interested in becoming a pattern tester for Jennuine Design, shoot me an e-mail at jennuinedesign@gmail.com – I’ll put together a list and let you know when I’ve got patterns needing testers! Â Things are in the works, people! Â I just need to dedicate the time to work on them…







Cute hat, I must give it a try. Have you ever made them reversible? I’ve made a lot of reversible bucket hats for my boys which have been a great hit.
This is really cute! I love that it only takes the four pieces. I’ve tried a few bucket hat patterns and they all have so many pieces it takes forever to cut out. Can’t wait to give this one a try!
very very cute. Definitely going to try.will add pictures when I do.
Super adorable hat! I love all! Thanks so much for sharing the great tutorial! Would love to have you visit me sometime.
Have a fabulous weekend!
Hugs from Portugal,
Ana Love Craft
http://www.lovecraft2012.blogspot.com
Ahhh, this summer sun hat is so cute. I would love to make a few hats. Thanks for sharing your tutorial and pattern. ;o)
This is so cute and functional. I’m excited to try it. Thank you for sharing. I’d love for you to check out our Pattern Party that starts the 1st of each month. I’d love for you to link up in July.
hi jenn! this hat is so great! i wanted to let you know that i made one for the pre-kcw party (kids clothes week), where i’m guest blogging about hats on friday. check out the blog tomorrow to see a link to your tutorial, plus pics of the hat i made from it. http://blog.kidsclothesweek.com
thanks for such a fabulous pattern!
holly
http://www.hamsterandthebee.com
I made your hat for my cousin in orange and blue. It turned out so cute! Thanks for coming up with this pattern and tutorial! I like that it’s a more girly hat than a plain old bucket hat, but easy to make.
http://sarahdudik.wordpress.com/2013/07/24/camper-sunhat/
Jenn, does the brim seem solid enough on a finished hat? Would it worth to add a little interfacing to it? or is it a needless step for this style of a hat? I love the shape of your hat and am keen to give it a go. Little Monkey needs more hats 🙂 Ta jenyathompson {at} gmail {dot} com