This post is a long time coming. Â Like, almost exactly a year. Â I started this sewing journey to make a Negroni shirt last October but while preparing the pdf pattern, I “trimmed” part of my left index finger off. Â You can read more if you’re the type for gory details and my learnings from the experience.
After my finger healed – which it did with no outward sign, just some lingering sensitivity and a light feeling of having glue or something on that spot – I found myself always with another project or deadline, so the project sat. Â And sat.

Until we went on our annual end of summer vacation where we rent a cottage on a beach in Michigan. Â Hubby Dave agreed that I could bring my sewing machine and gear if I finished up his shirt. Â Fair deal. Â The cottage we rented ended up being perfect with space on the island for my large cutting mat and the owners had a nice iron and board.
Hooray!  I was able to finish, and a couple of other little things as well.  This is a “wearable muslin” as I had gotten some really nice Cloud 9 organic cotton from Sew Fine Fabric which was intended to be the final product.  The muslin worked well so when time permits, I’ll make that one up using the adjustments I made to the pattern.
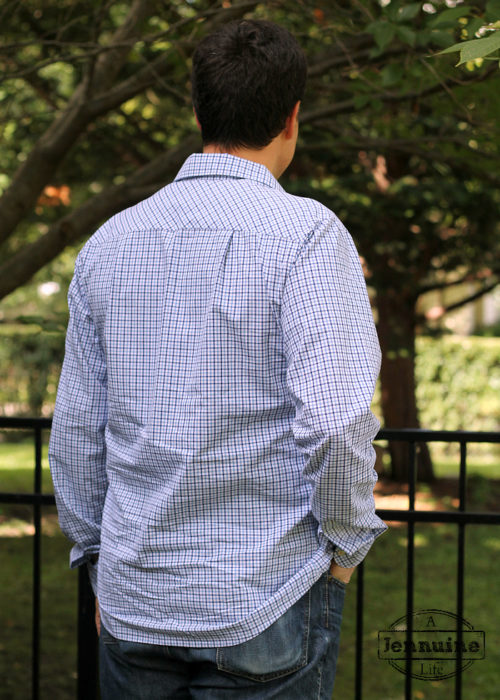
The adjustments I made were to accommodate my extra-tall hubby.  At 6’5″, Dave finds it difficult to find shirts that are long enough without a lot of extra width.  It would seem there is only big and tall, not big or tall.  I added about 1.5″ to the overall length and to the sleeves, and that amount was perfect for him.
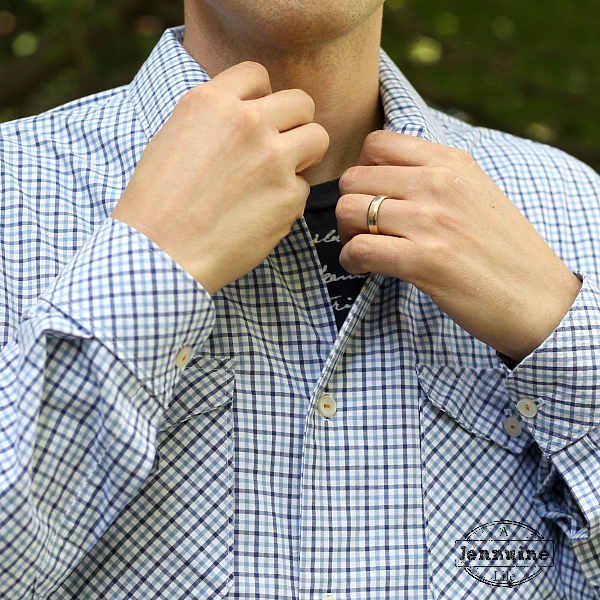
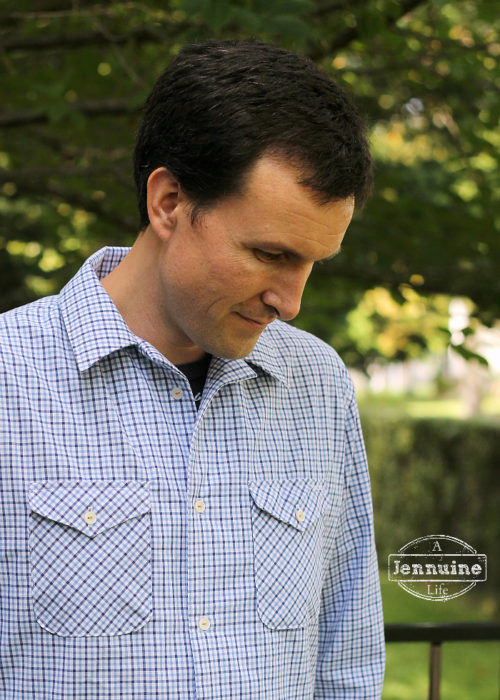
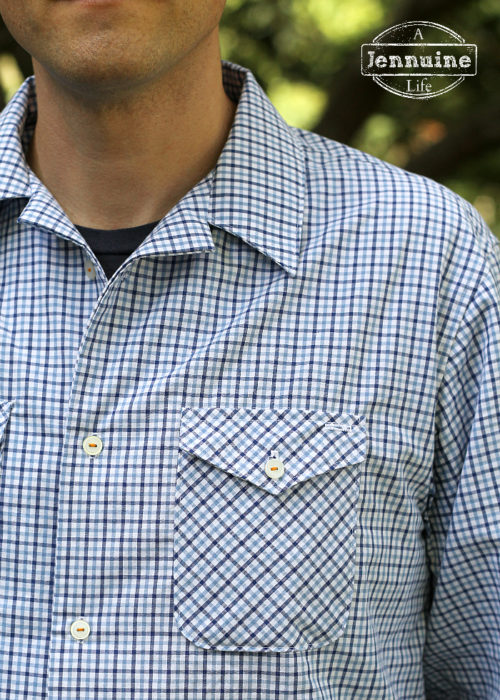
The Negroni is a casual shirt having no collar stand, and I omitted the loop at the collar. Â There’s also no placket; instead there is a facing along the shirt front. Â These more casual touches helped keep the difficulty level low, but it’s still a project taking several days to accomplish. Â I think the pattern is great, and the layout and illustrations are superb, with tips and tricks sprinkled in right where you might need them most.
I added an extra buttonhole on the top of one of the pockets to use as a media port, or for a pen. Â Dave requested the orange accent thread on the buttons, and I think it’s a nice touch. Â I’m dying that I wasn’t able to match the plaid across the shirt front. Â I was cautious while cutting, but I should have cut the two pieces separately even though I tried to be sure the fabric was squared up.
I’ll leave you with some fun shots of Dave. Â He says he was taking modeling pointers from Arden, but I think this is all him. Â What a giant (literally) goofball!
Outfit Details:
Pattern – Negroni by Colette Patterns
Fabric – plaid shirting from Jo-Ann Fabrics


Hmmmmm, I’ll think I’ll have to try this one for my 14 year old son who is 6’5â€!
Amazing Shirt, love the photo shoot! lol
it looks great! and i would have to say your hubby has great taste. i love the orange thread on the buttons so much!
So good!! It looks wonderful and I didn’t even notice the front not matching up perfectly until you mentioned it. So glad you were (finally) able to finish it!
Fantastic Jenn! I’m with April – I didn’t notice any pattern mismatch until you mentioned it!
It looks so professional, and I love the orange thread on the buttonholes! Most RTW companies don’t match patterns so don’t sweat it too hard.
Thanks Jodi! I’m sure I’ll be scrutinizing rtw shirts now! Funny how doing a specific project makes you that much more sensitive to aspects from it.
Fun! The orange on the buttons is awesome, and that extra buttonhole is such a great idea. I love sewing for boys, but I haven’t yet been brave enough to sew for my husband. I’ll have to keep this pattern in mind.