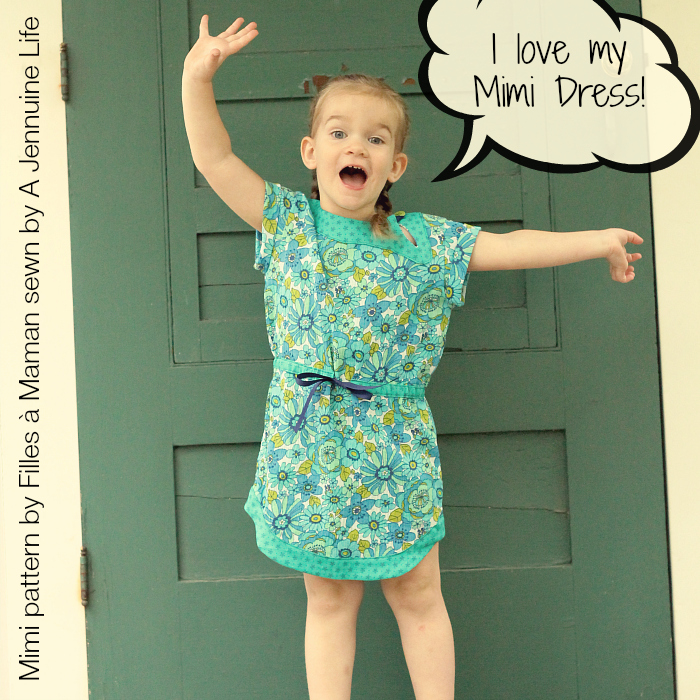
Today I get to show you the Mimi Dress I made!
I’ve known of Mel who designs as Filles à Maman for quite some time, but this is the first pattern of hers I’ve had the pleasure to make.  I do a fair bit of pattern testing for other designers, but pattern tours are unique that it’s an opportunity to show the versatility of a pattern by mixing things up, or trying things that are not strictly recommended.
You might notice that I took my obligations as a tour participant to heart. Â I took the lovely Mimi pattern and made a few little changes for a big impact!
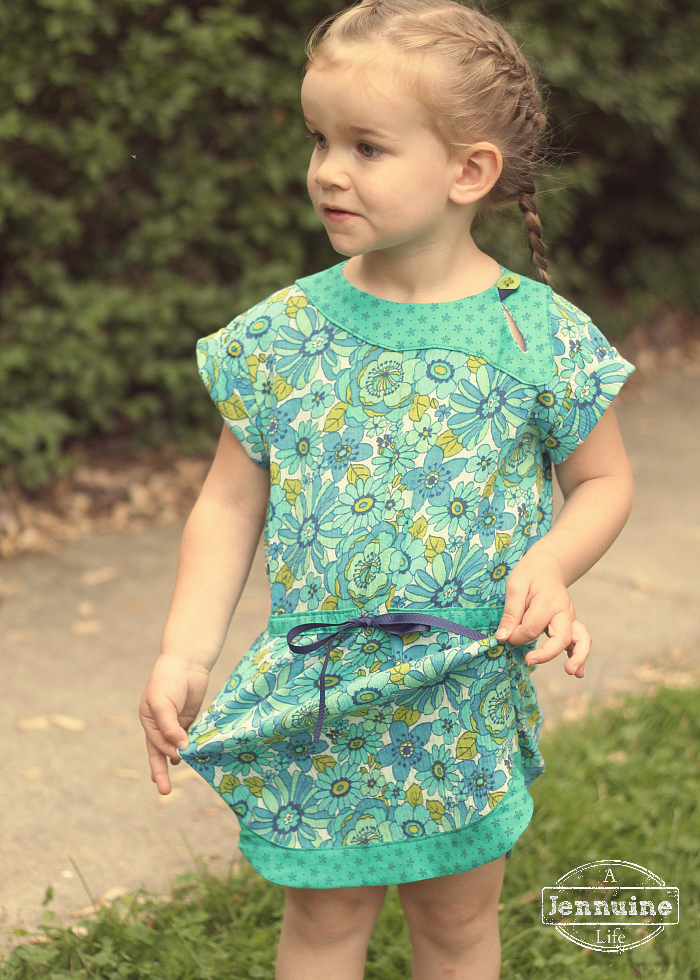
The first thing is that I used woven fabric for my Mimi, even though knits are recommended. Â I was planning to try a woven and set out to find some shirting or lawn that would be crisp and light for summer. Â Then I spotted this gauze with a great vintage floral print at my local Jo-Ann Fabrics. Â It had the feel I was looking for with the bonus that it had pretty much the same stretch as a stable knit. Â Sold!
I cut a 4T length (for a very tall two year old Hadley) and size 6 width to be sure there was enough ease, but I don’t think that was necessary.
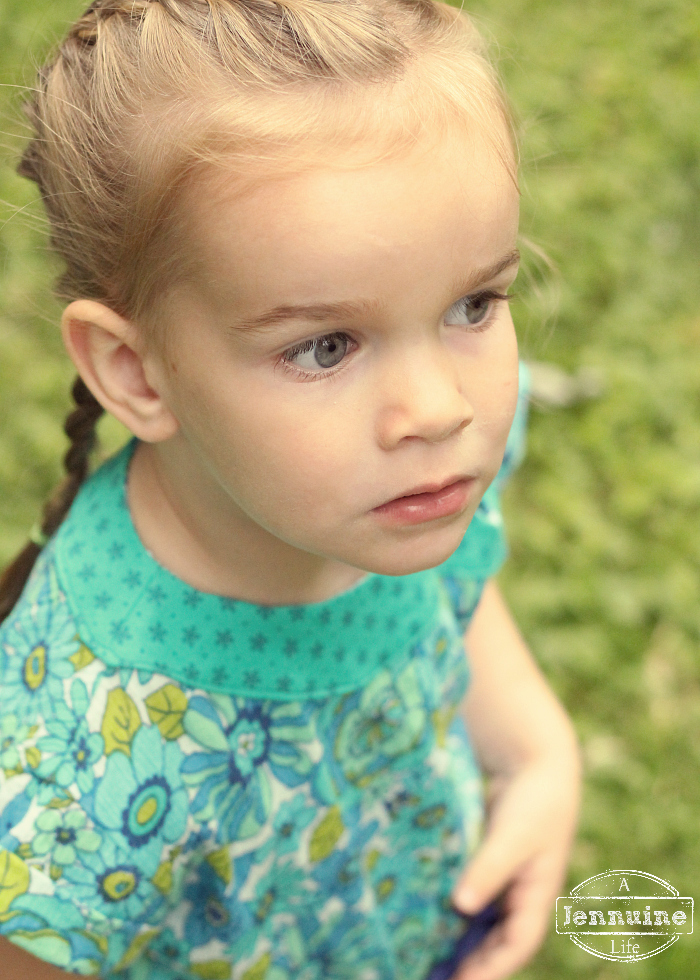
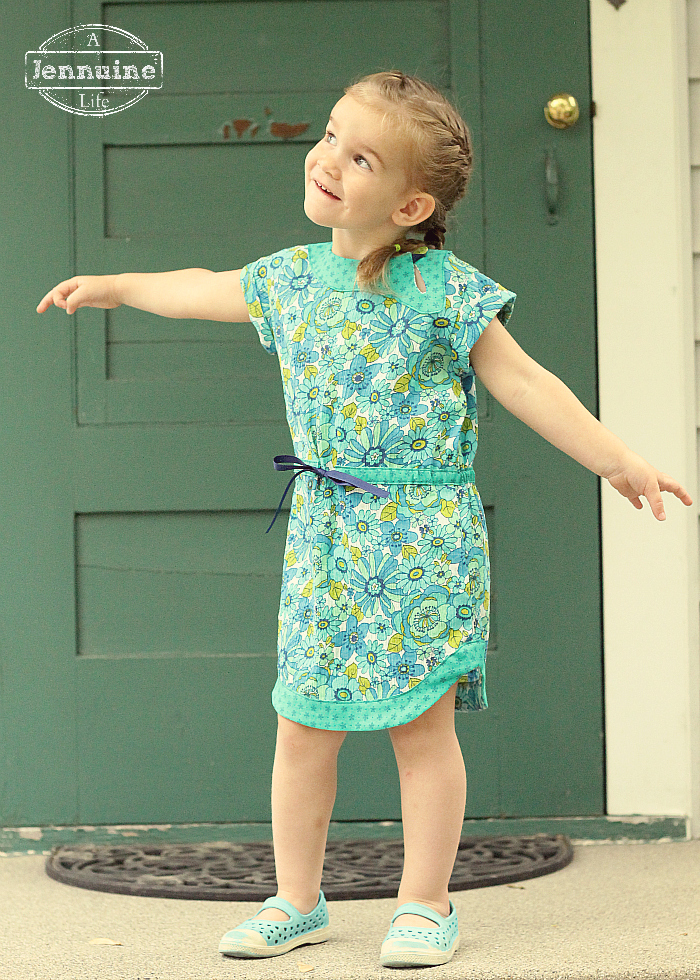
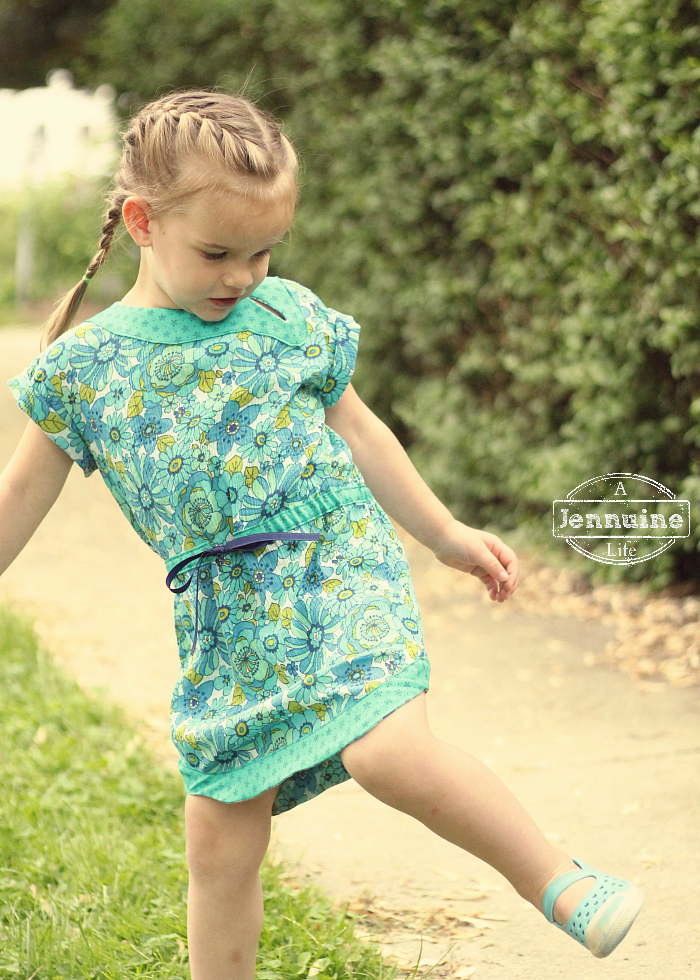
The next change I made was to put the neckline facing on the outside of the dress. Â I accomplished this by trimming the seam allowance from the interfacing. Â Then I sewed the right side of the neckline facing to the wrong side of the dress and turned it to the outside. Â Then clip and press the edge under along the interfacing and edge stitch.
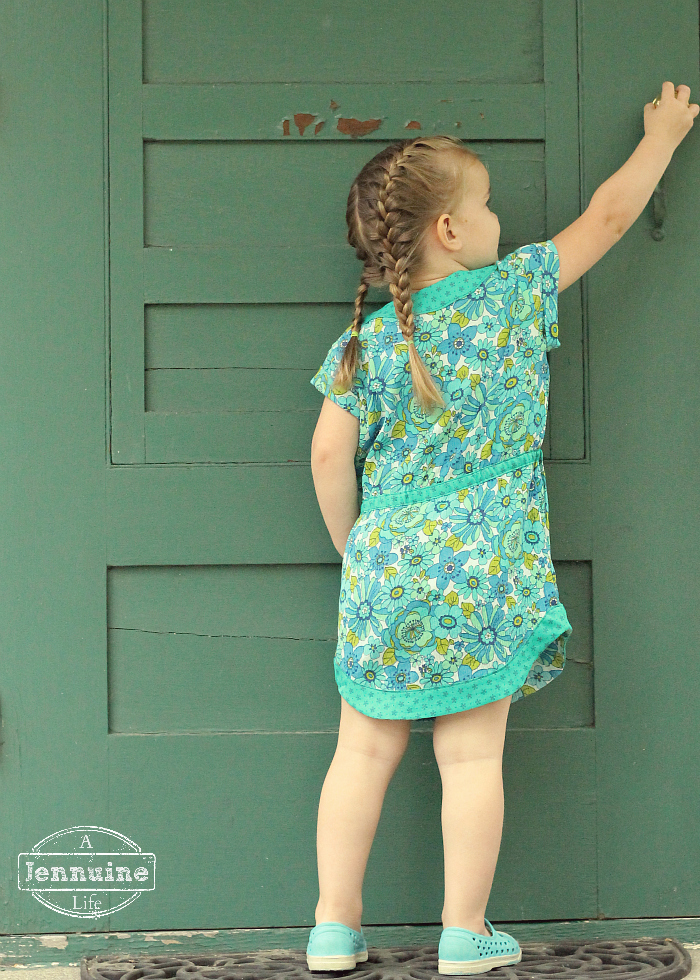
I did the same external facing for the hem, but instead of using interfacing to guide this one, I basted a line 3/8″ from the edge of the facing and used that as a guide for pressing the edge under before edge stitching. Â I really like the way the external facings provide contrast for the busy floral print.
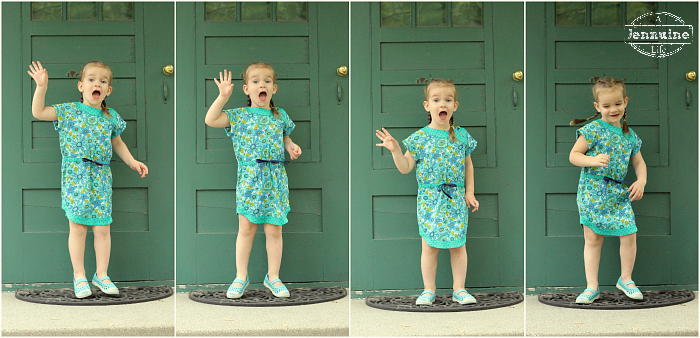
Does this shot of Hadley look similar to another photo I’ve taken?
Hadley has such a big personality! Â She’s always making funny voices, wiggling in a little dance, or sticking her tongue out!
The last thing I did differently was instead of using loops to guide the waist tie, I added a casing of the same contrast fabric. Â I cut a strip of fabric 1.25″ wide and pressed the ends and sides under. Â Then I got everything straight and even and pinned it all the way around. Â I edge stitched the long sides and then threaded a length of grosgrain ribbon through the casing. Â This is more ribbon I got from The Ribbon Retreat with my prize from participating in Project Run & Play. Â So far, the colors of ribbon I’ve chosen have worked out beautifully! Â I also used a short length of the ribbon for the button loop.
Now that I’ve explained the little changes I made, let’s talk about the pattern.
Mel is a native French speaker, but she offers her patterns in English as well. Â She must have some really good proof readers because the translation was really clear.
The way the pattern is tiled, if you print all the way to the edges you don’t have to trim anything. Â I didn’t catch that part, or maybe it’s something to do with A4 vs. standard US paper size, but I had a teensy border around mine. Â Not a problem, I could still line everything up without trimming.
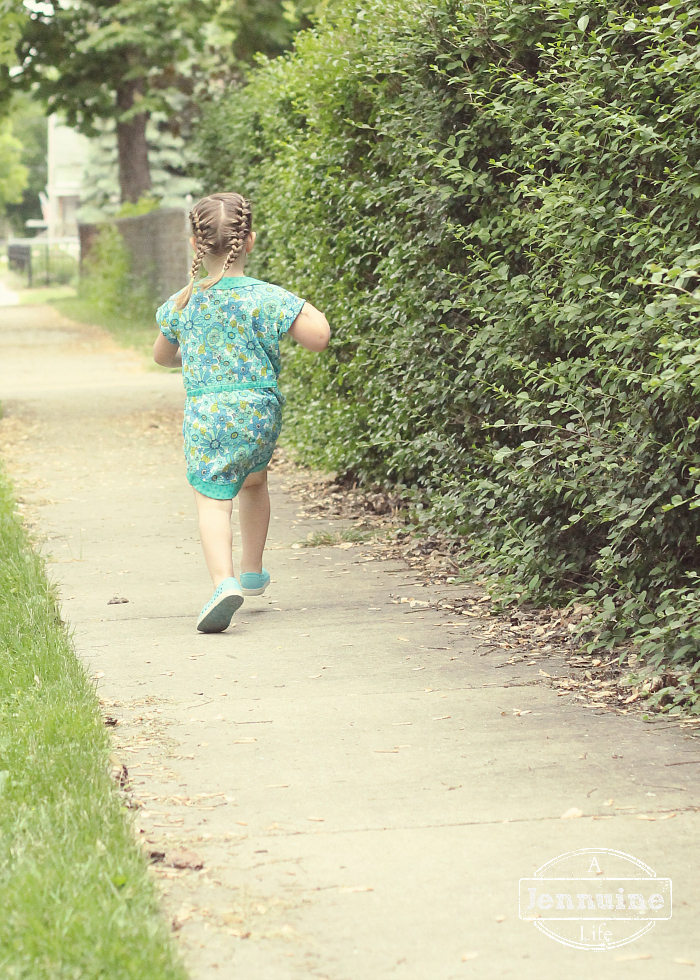
You can see the fit is really nice. Â I love that shirttail hem and relaxed style of this dress!
Outfit details:
Pattern: Mimi Dress and shirt by Filles a Maman
Fabrics: Floral print gauze and quilting cotton from Jo-Ann Fabrics
Ribbon: Grosgrain ribbon from The Ribbon Retreat
Shoes: Old Navy (hand-me-downs from Arden last year, but they have the same style this year)
Run! Â Go get your Mimi pattern today! Â During the tour you can get it for 20% off with the code MIMITOUR20.
And… there’s a giveaway for 5 patterns of your choice from Filles a Maman. Â Use the Rafflecopter widget below to enter.
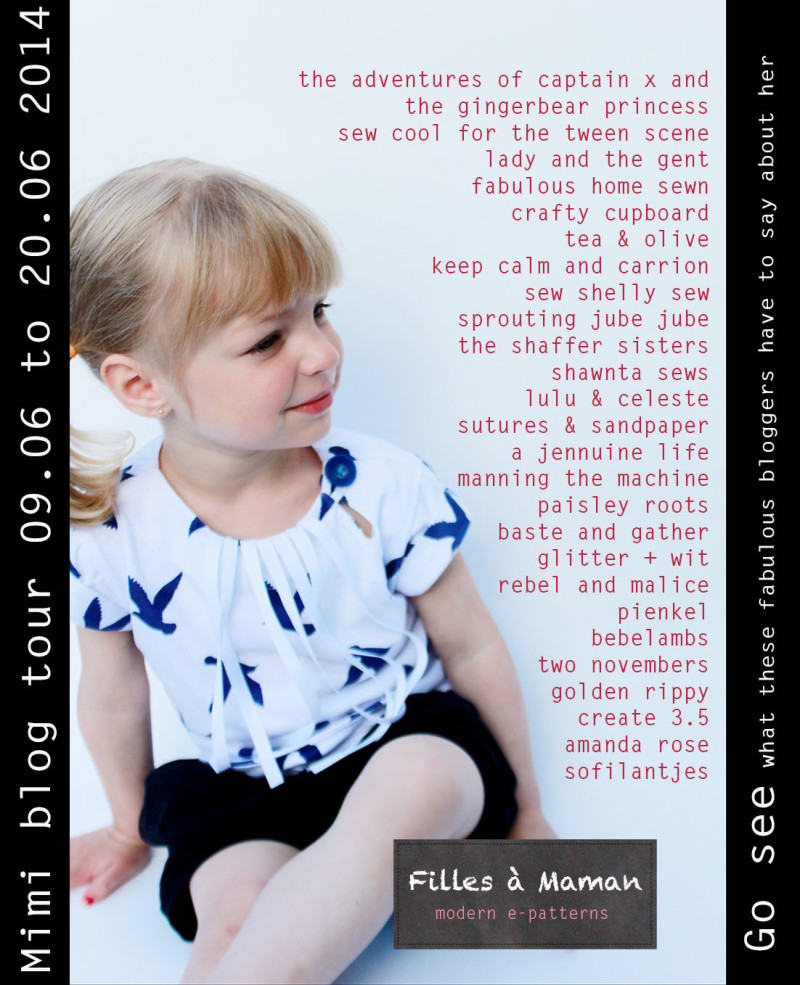
The tour is still going for a few more days! Â Check out the rest of the great participants:

Super cute!! And how smart to use a gauze, gonna have to keep that one in mind 🙂 And WHOA. She IS tall! I’m trying to imagine Olivia in a 4 length, haha!
Oh yes! She’s giant! So people think she’s three or four. Luckily she’s also fairly mature so she can get away with people not questioning her behavior too much. I’m really glad I decided to use this fabric, it really turned out perfect for what I had imagined!
Fun mix up! I always get nervous translating a knit pattern to woven fabric well executed.
Love this dress! I’ve eyed that exact same fabric and just couldn’t find something to make with it. I love what you’ve done to show the versatility of the pattern and super cute photos!
I’ve got enough for a top for Arden, and I’m really thinking I’d like something in this fabric as well – you should feel how light this dress is!
I am in love! Actually I would like one for me 🙂 I really like the fabrics, great job!
Me too! I might have to scope out a women’s pattern I can modify to make one for me.
LOVE your version!! Especially the facings on the outside. I might have to steal that idea for my next one 🙂
Steal away! I wish I had taken some process photos, but sewing after kiddos’ bedtime doesn’t lend well to tutorial photos.
The facings on the outside became such a cute feature!