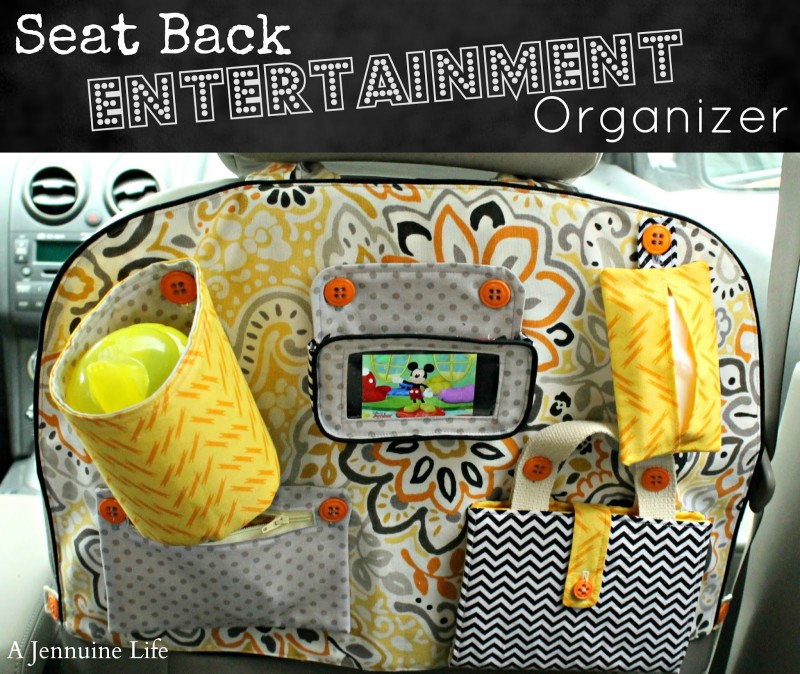
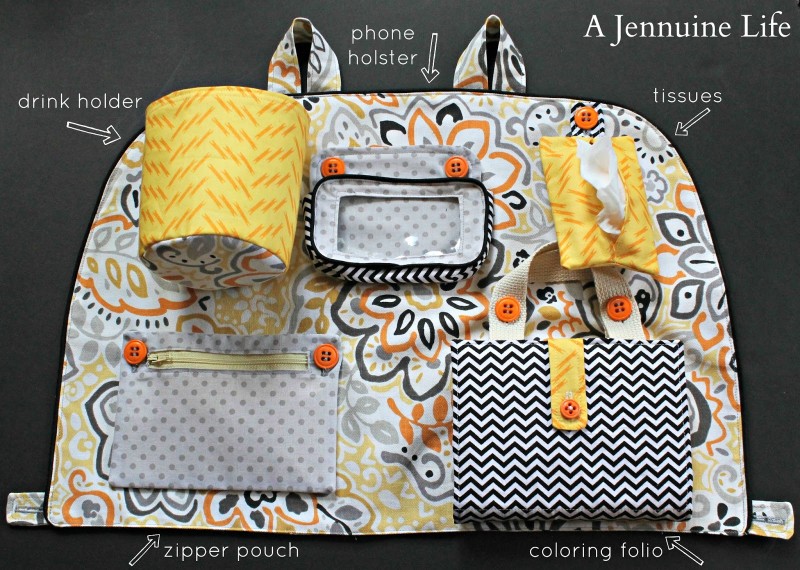
It all started with the phone holster. Â We download television and movies onto our smart phones for Arden to watch when we travel. Â The only problem is having to restart the show time after time because she accidentally touches the screen when she holds it. Â This holster is made with clear vinyl across the front which even conducts so you can use the screen through it. Â Then a drink holder which could collect little odds and ends as well, and a tissue holder made just the right size for those pocket packs so I don’t have to search around while I’m driving. Â The little pouch with a welt zipper holds her sunglasses and has room for other small items.
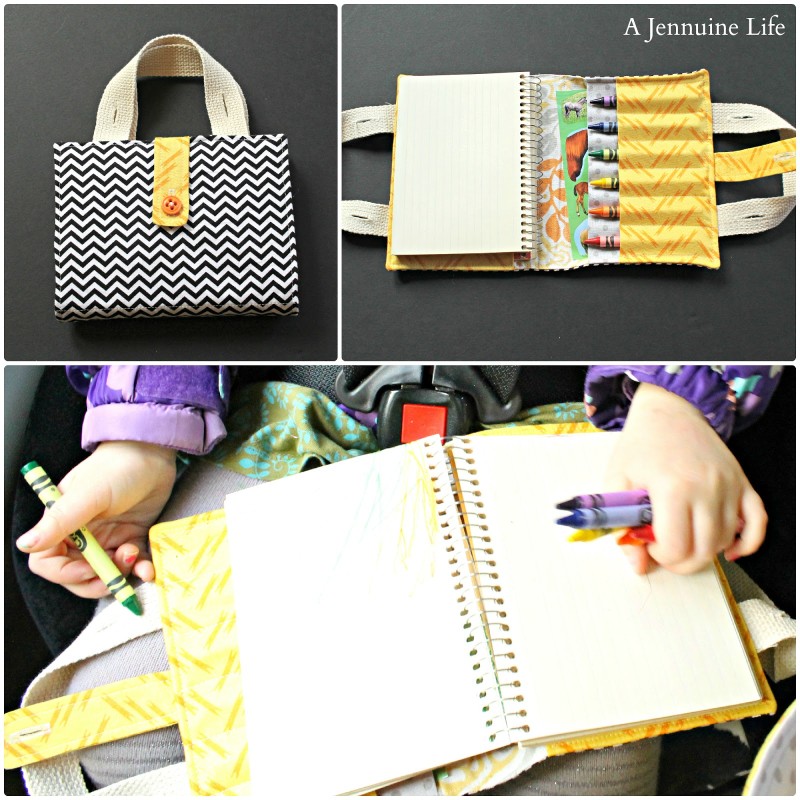
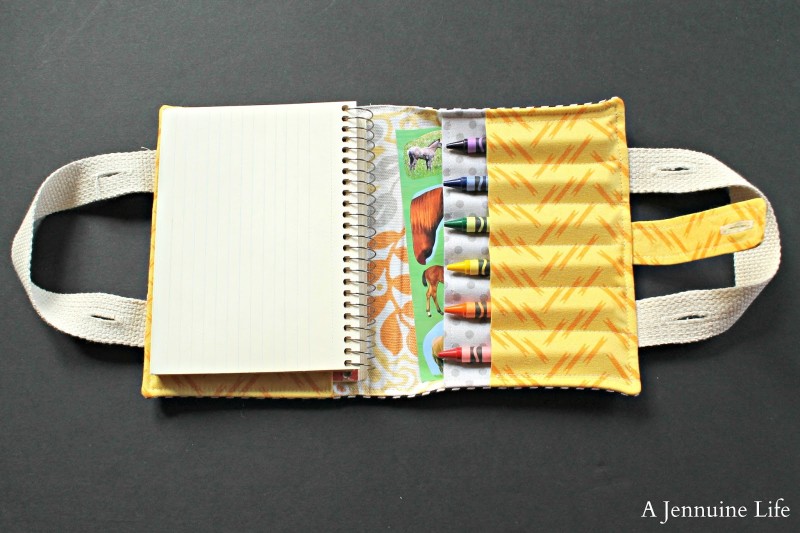
Lastly the coloring folio with places for a small notebook, crayons and a sticker pocket since both my girls love to color. Â I’m sharing a tutorial for the coloring folio so you can make one for the little artist in your life.
Â
Coloring Folio Tutorial
Supplies:
Coordinating fabrics – the floral is home decor weight and the rest are quilting cottons
Interfacing – I used Pellon Craft-Fuse 808
Cotton webbing
Button
Coordinating thread
Sewn with 3/8″ seam allowances except where noted.
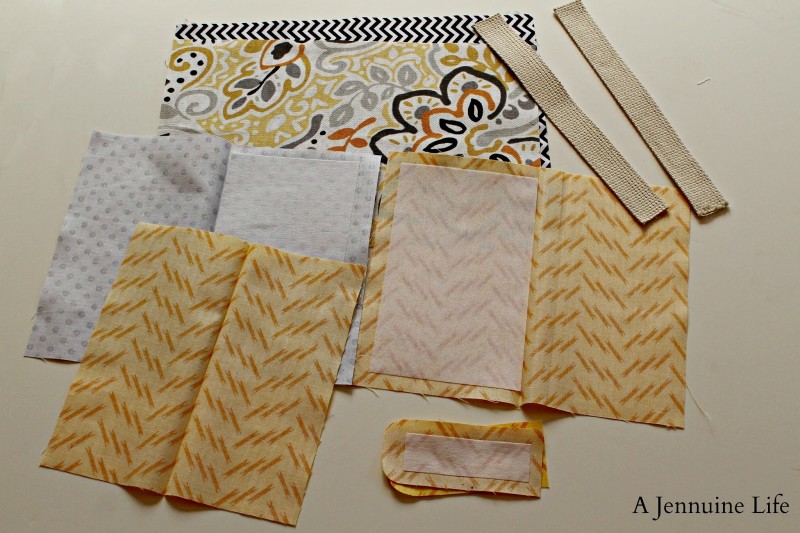
Cut fabrics and interfacing. Â My book was 5″ x 7″ spiral bound note cards so all cuts are based off that. Â Adjust for different dimensions as needed.
Main folio pieces – 2 fabric cut 7 1/2″ x 11 1/2″, 1 interfacing cut 6 3/4″ x 10 3/4″
Notebook and sticker pockets – 2 fabric cut 9″ x 7 1/2″, 2 interfacing cut 4 1/8″ x 6 3/4″
Crayon slots – 1 fabric cut 7″ x 7 1/2″ (this would be better a little wider, maybe 7″ x 8 1/2″)
Button tab – 2 fabric cut 1 3/4″ x 4″ with one end of each rounded slightly, interfacing cut 1″ x 3 1/4″
Handles – 2 pieces cotton webbing cut 8 1/2″ long
Fuse interfacing to one wrong side of the main folio pieces, to wrong side of one half of each of the pocket pieces and to the wrong side of one of the button tab pieces.
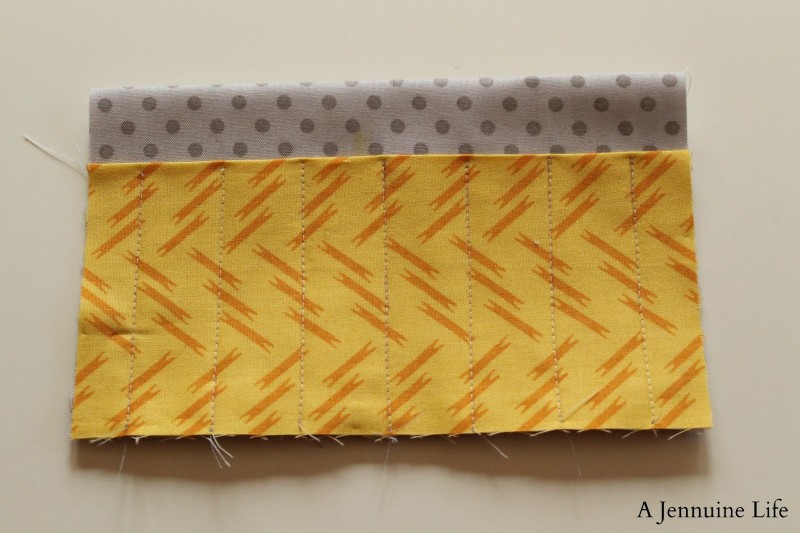
Sew crayon slots. Â Align the raw edges of the crayon slot piece and the sticker pocket pieces. Â Each piece is folded in half and pressed with wrong sides together (WST). Â Mark intervals 1″ apart using a water soluble pen or other marking tool. Â This is where it would be better for the crayon slot fabric to be slightly wider. Â It would lie more nicely if a small pinch of fabric were taken in between each line of stitching to allow room for the crayon to slide in. Â Stitch close to the folded edge of the notebook and sticker pockets for a finished look (not pictured).
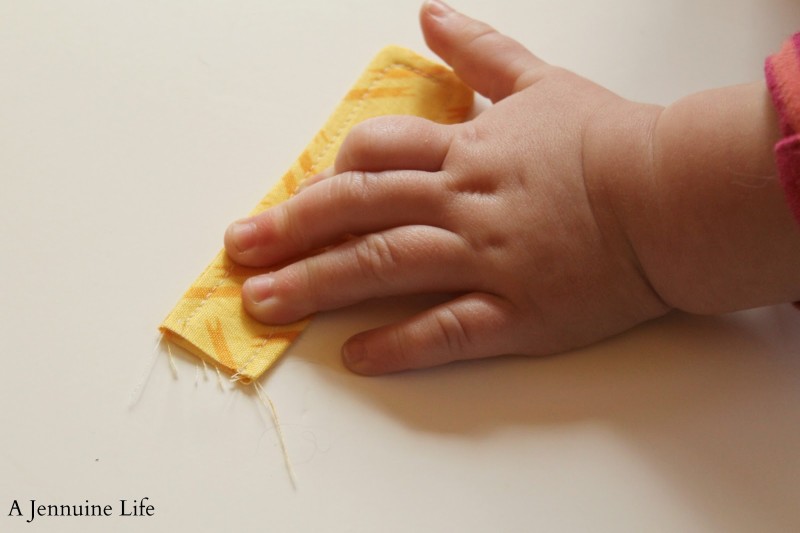
Make button tab. Â With right sides together (RST) sew around three sides of the button tab pieces. Â The interfacing will be facing outward. Â Trim seam allowances, notch curves and turn. Â Press and topstitch a scant 1/8″ from the edge. Â Hadley volunteered to be my hand model for today’s tutorial.
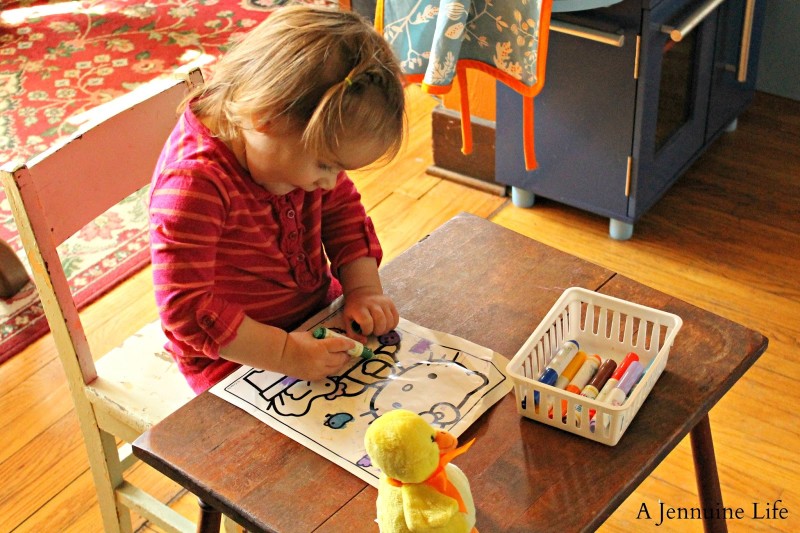
Gratuitous shot of Hadley doing what she was supposed to be doing while Mommy took a couple of pictures. Â Instead she kept “helping” by photo bombing the step by step pictures I was taking – just a typical day around our house!
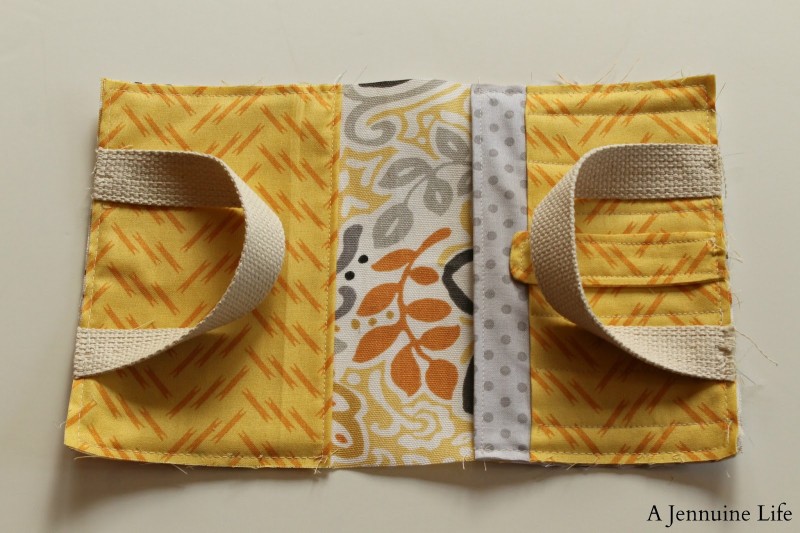
Baste all the pieces in place onto the interior folio piece. Â Handles and button tab are placed facing into the folio. Â I chose to sew the button onto the exterior after it was constructed to be sure of the placement, but it would be easier to sew on at this stage.
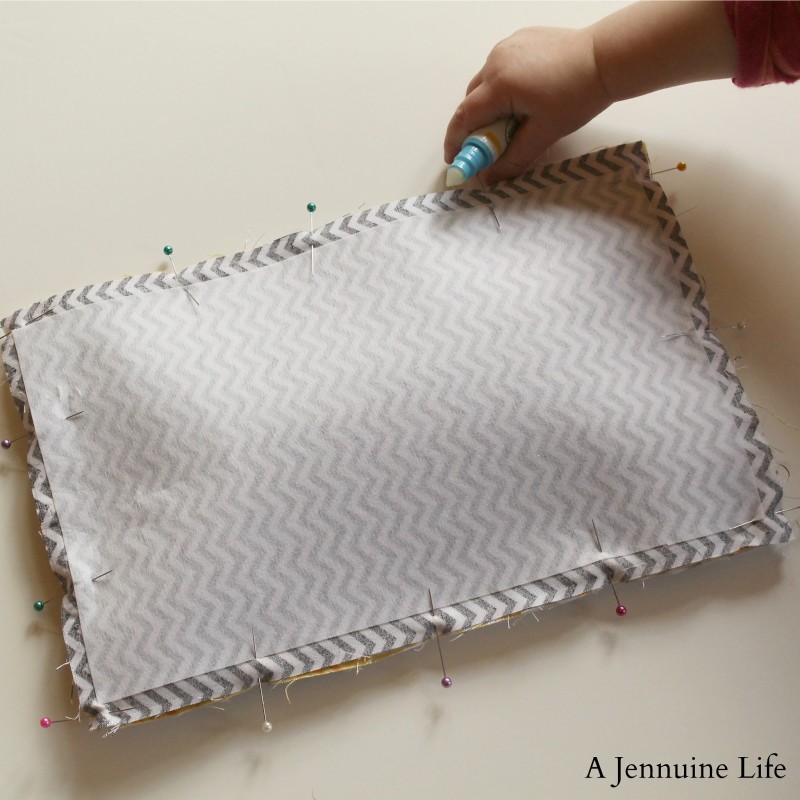
With RST and the interfacing to the outside, pin in place and sew around all four sides leaving about 4″ open for turning. Â Clip corners and turn. Â Press and topstitch. Â I sewed a couple of lines across the center of the folio to simulate a book’s binding.
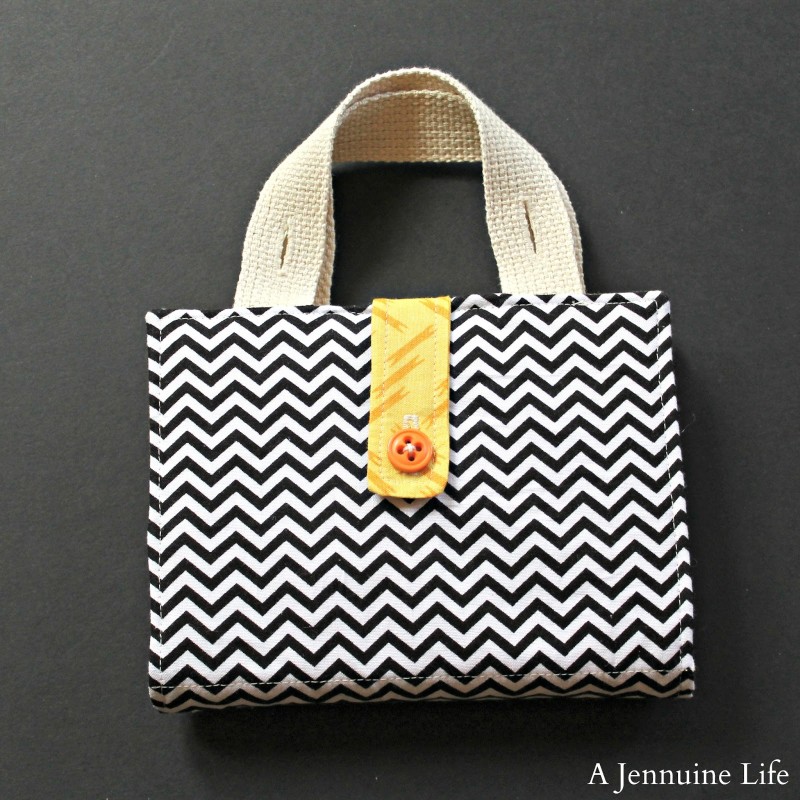
Sew a buttonhole on the tab and stitch a button onto the exterior front of the folio. Â You could also use snaps or hook and loop tape, but since this was the button challenge I thought it more fitting to use a button for the closure. Â Sew buttonholes into the straps if you’re using a similar method of attaching the folio to an organizer.
Fill with notebook, crayons, and stickers and enjoy watching your tiny artist at work!
This project has been featured on:
I’ll be linking to many of these great parties:



This is so clever! What a great idea! Good luck to you! 🙂
The phone holster is genius! My daughter always wants to hold the phone and is always hanging up on people. And I love how all the parts come off if you want to take anything on the go. Great idea!
VOTED! This is so adorable! I love the tissue and phone holder. My co-workers want me to make one for them now! Thanks so much for sharing.
Super cute and smart. I’m adding it to my list of gifts to make friends with kids. Good luck!
Wow, you are very talented and creative! And you picked the cutest fabric combos too! Stopping by from I Heart Nap Time. Thanks for sharing:)
RamblingReed.blogspot.com
How creative and so very useful! I would love for you to link up at SHOW-licious Craft Showcase.
Just follow the link…..http://sew-licious.blogspot.com/2013/04/show-licious-craft-showcase-26.html.
Marti
This is awesome! I’m pinning!
LOVE this! I am going to be making two for my kids for our trip to Myrtle Beach this summer!
Que original!!! Me encanta!!!
This is AMAZING! I love the buttons and the changeability, plus the fabric you used is so cute! We’ll be featuring this tomorrow at Someday Crafts. If you have a minute, we’d love it if you stopped by!!
Just amazed!!! I need one!!! You should sell these!! Featured you here:
http://lifewithleahy.blogspot.com/2013/04/five-fabulous-friday-finds_19.html
Seriously, bravo. This is genius!
Hi. Seen this on Pinterest from CraftGossip and followed it here. Is it alright to pin this?
This is so great! The best seat back Organizer from all that I’ve ever seen!
This is so great! The best seat back Organizer from all that I’ve ever seen!
I made this exactly as instructed and it was about half an inch (or more) too narrow for a 5×7 notebook. I thought it would be from the measurements but I like to stick to the instructions first before trying my own alterations. I will make one about 1 inch wider than the instructions say and see how it turns out.
Hmm… If you used the 3/8 seam allowance given, then the only thing I can think of is that my 5×7 note card book might not be a standard size? I used one I had around the house and was probably older.
I’d really like the instructions on how you made the iphone holster!
These are not for sale, this was a project I made specifically to fit my car’s seat.