Remember Ellen from Creative Passage‘s recent guest post about how to make (or full) your own wool felt? Well, she had more ideas to share and sent another great post full of projects you can make from wool felt. Here’s Ellen:
I am so excited to be guest posting at Jenn’s again! I promised to show a few projects that you can make with the wool felt I showed you how to make! You can find many different templates by googling felt flower template or felt flower pattern.
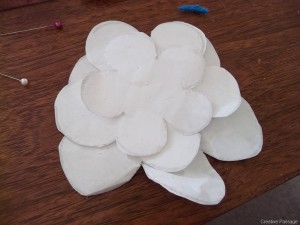
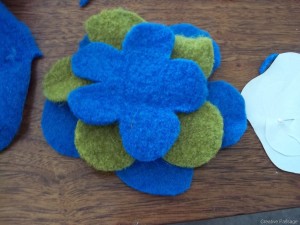
I made this one with a simple single template and I used the copy machine to shrink it and make several more sizes to stack.
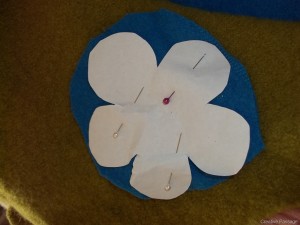
Cut the pattern out of cardstock or regular paper…then cut out the felt.
Just keep cutting until you have the number you want, use wild colors or keep it traditional, stack two three or four layers (or more!). They don’t have to be perfect…I am going to show you a trick to make the edges look rounded.
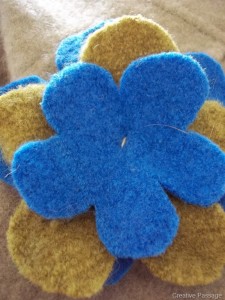
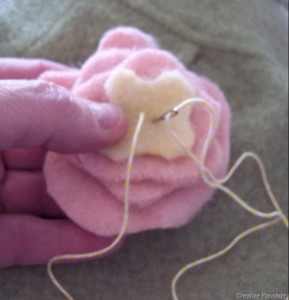
Now take some thick thread (I used bakers twine because I didn’t want to go upstairs to get thread out of my sewing room!) and tack the pieces together snugly and tie the thread on the back.
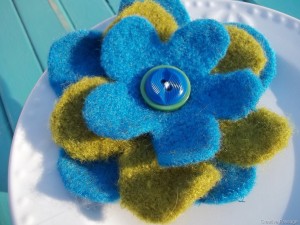
I made this one the same way with a little different shape.
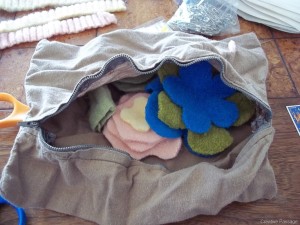
Now we are going to put them in a bag to wash them.
I don’t really want to shrink them any further, just smooth them out, so I tossed them in a bag in a regular cold load. This zip bag was made by my son in Home Ec (or what every they call it these days)! Zip up the bag, add some detergent and let’s start a second kind of flower!
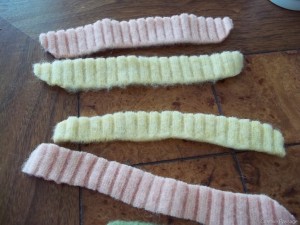
I like to use the ribbed cuffs and hem of the sweaters for these flowers. Just cut two strips about 1/2-3/4 inch wide and as long as you want the flower to be across. Play with the process and you will be able to judge how long to cut them. You can also just trim them off when you get to the size you want.
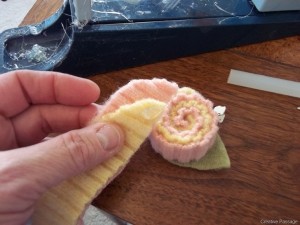
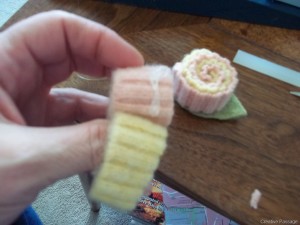
Add a drop or two of hot glue to one of the ends, hold them together and wind them in a circle.
Keep adding the glue as you wrap the pieces around.
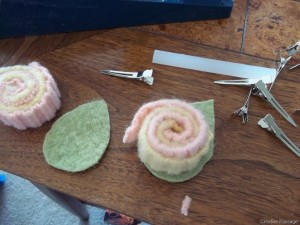
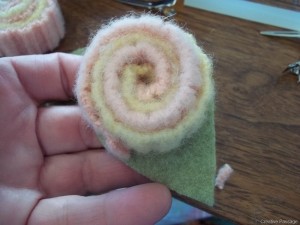
Hot glue the ends down. Cut a leaf from green about the size of the circle except teardrop shaped.
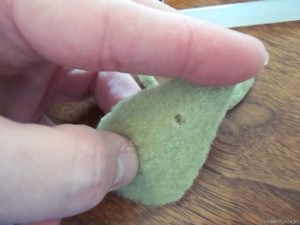
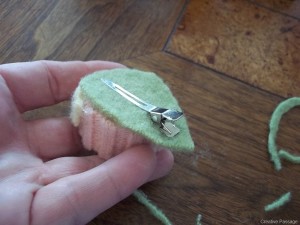
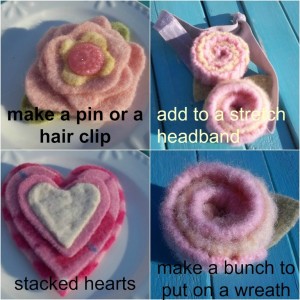
Cut a small hole in the pointy side of the leaf so the hair clip can be stuck in there. Stick the hair clip into the leaf…
Add some hot glue to the back and stick on the leaf!
Now those are done!
You can make the flowers look different using different sides of the ribbing or cutting the pieces narrower….actually there are a lot of variables to give you a different look.
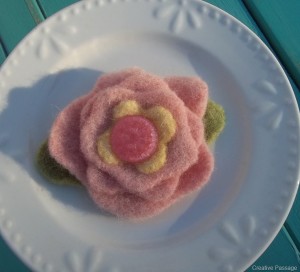
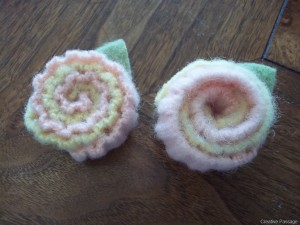
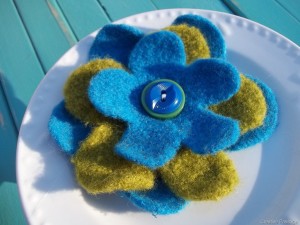
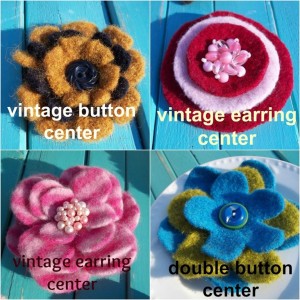
I dried the flowers in the dryer and this is the finished look you get…no ragged cut edges! I used two buttons for the center of this one…
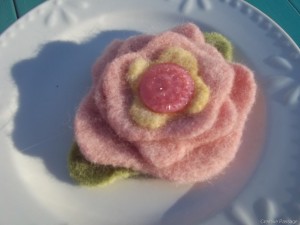
And a soft pink glass vintage button for the center of the pastel flower.
Use your imagination to create so many different variations!
Thanks again Jenn for having me over to guest post!
Check out my Pinterest Board Wool Felt, Felted Wool for more ideas on what to do with your stash of wool felt! Come visit my blog for more ideas…just search wool felt!
Thanks again Jenn!!
Thanks for sharing these great projects, Ellen! I know I’ve enjoyed using the felt you sent (just made some quickie dolly diapers on Monday), and a friend just gifted me like six cashmere sweaters to feed my stash! I’m going to follow your instructions from the last post to full them and start creating!



Comments are closed.