I am super-geeked about this project. Arden loves it already, and I am pretty darn pleased with myself for making it for her! Super-hubby Dave has been busy with major outdoor projects for several recent weekends (fence installation, garage demolition), so I decided that Labor day weekend would be my DIY weekend. I was inspired by Brittany on Mommy Words post for a DIY Play Kitchen. I found the same plans on Lowe’s that Brittany used.
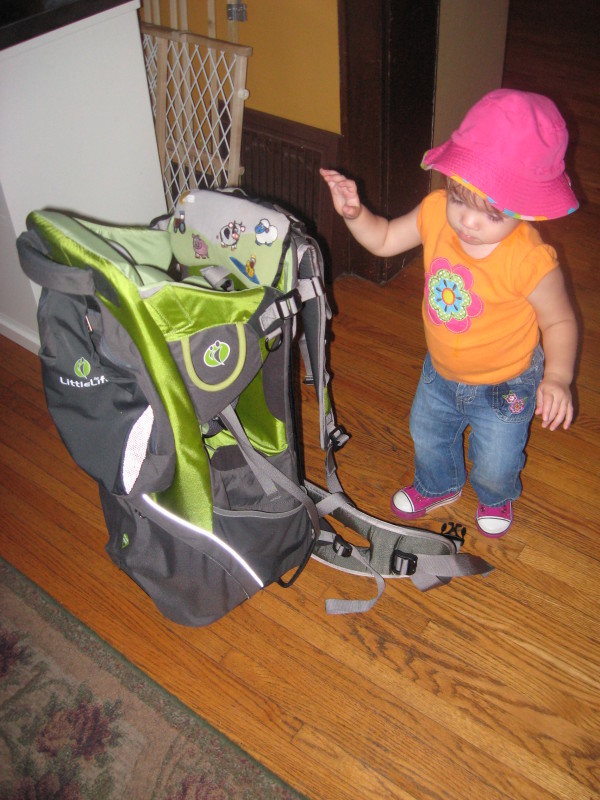
First, to get a little time without “help” from Arden. The win-win solution: A hike with Daddy!
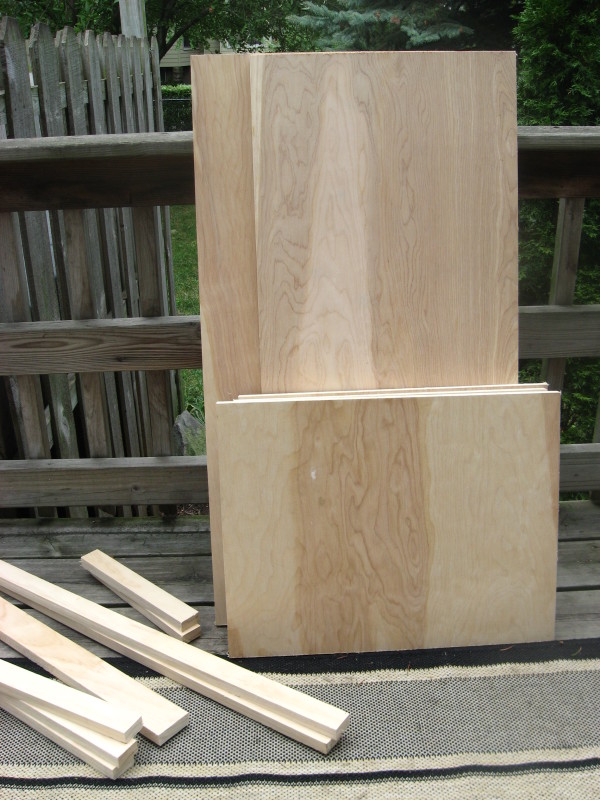
- Construction of the box. The plans called for actual cabinetry construction with pocket screws. I didn’t think this required that level of craftsmanship, so I glued and nailed the box together, and then glued and nailed the rails and stiles, etc. to the box. Much quicker and in the end, way easier to fudge the inaccurate cuts (Lowe’s, not mine of course!).
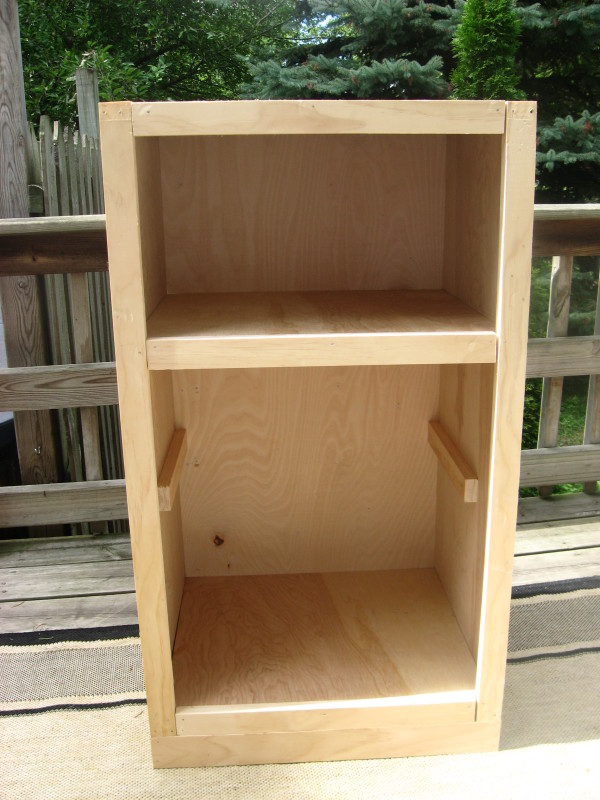
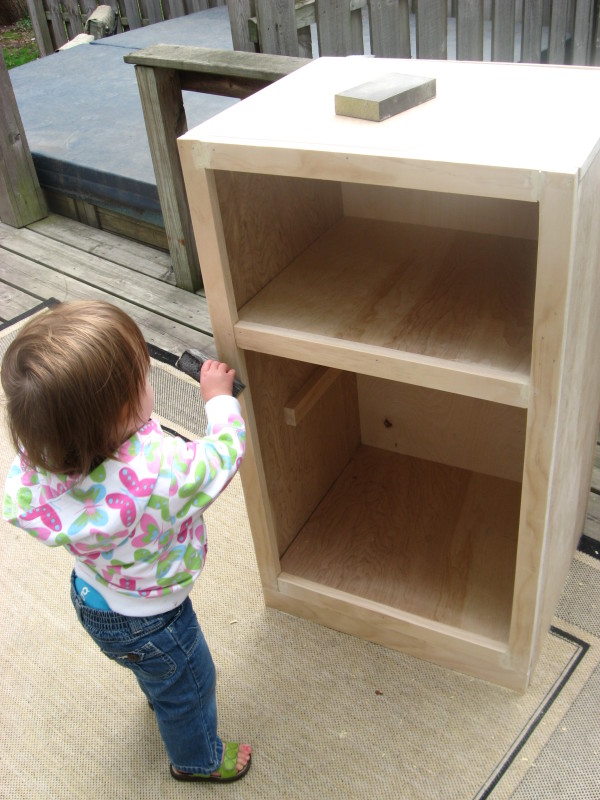
- I filled in the gaps, nail holes and the rough ends of the plywood with wood filler, then sanded everything down. Arden had since returned from her hike with Daddy, and was now “helping”. Good thing she wasn’t around for the sawing and hammering! Sophie the dog also got into the action by repeatedly stealing one of the sanding blocks and running away with it.
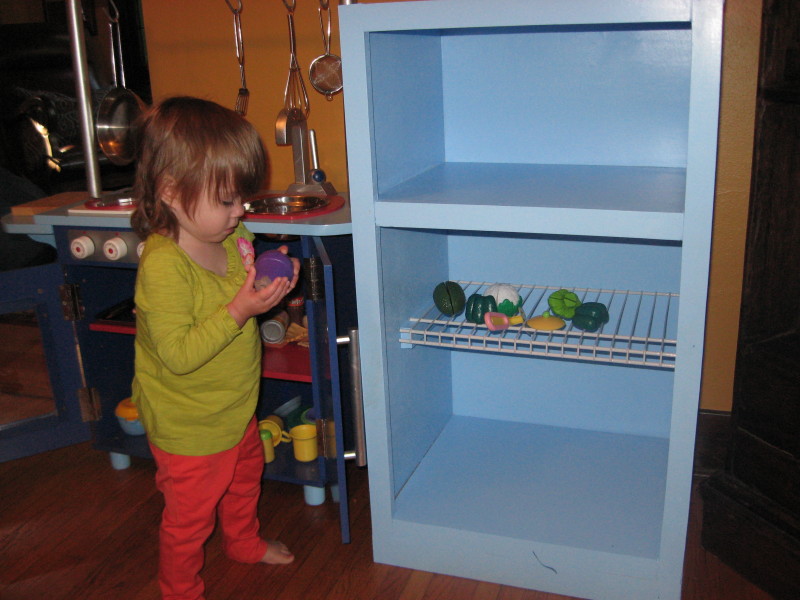
- I painted the cabinet light blue to match the garage sale find kitchen play set I already had, and put the 12″ deep wire shelving onto the cleats.
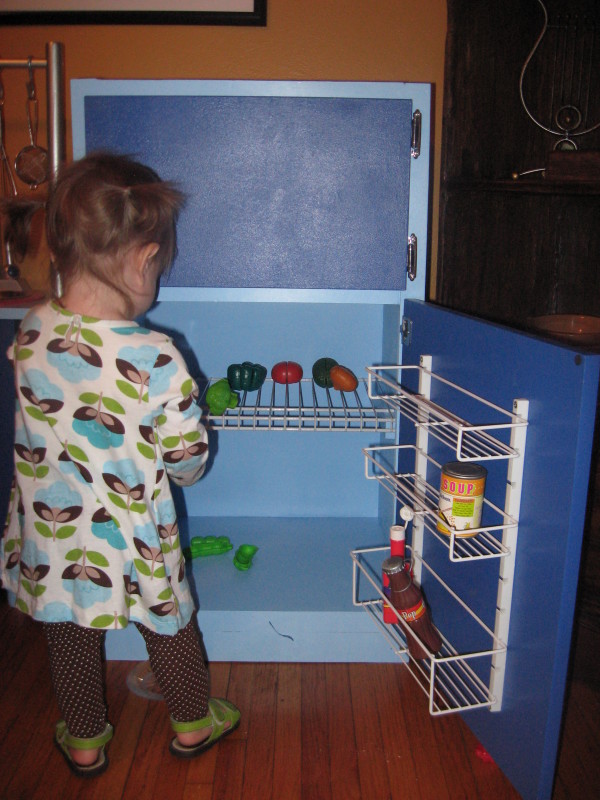
- I attached the doors to the cabinet using flush mount self-closing hinges. Arden “helped” some more.
Now for some of the things I did that I think are really cool:
- I attached a Closetmaid spice rack to the inside of the refrigerator door to act like the door organizers.
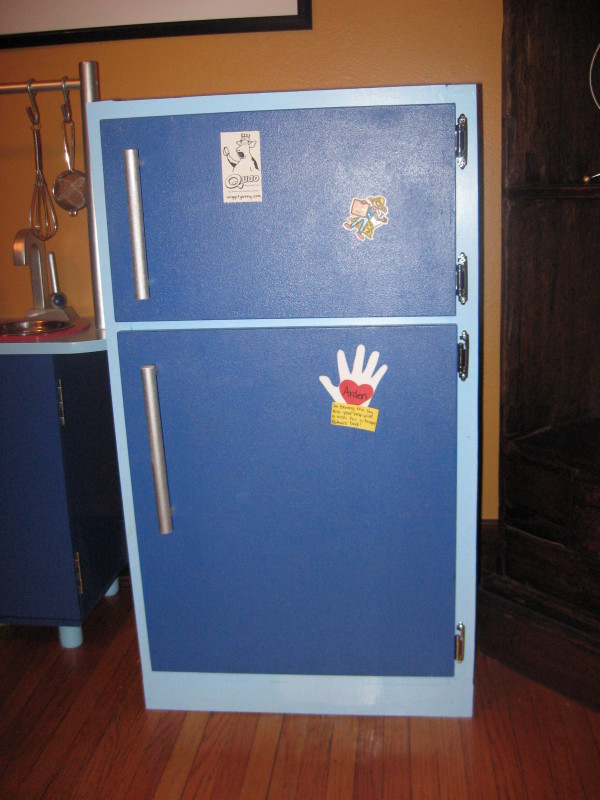
- I made handles out of dowels painted with stainless steel spray paint to match the kitchen play set.
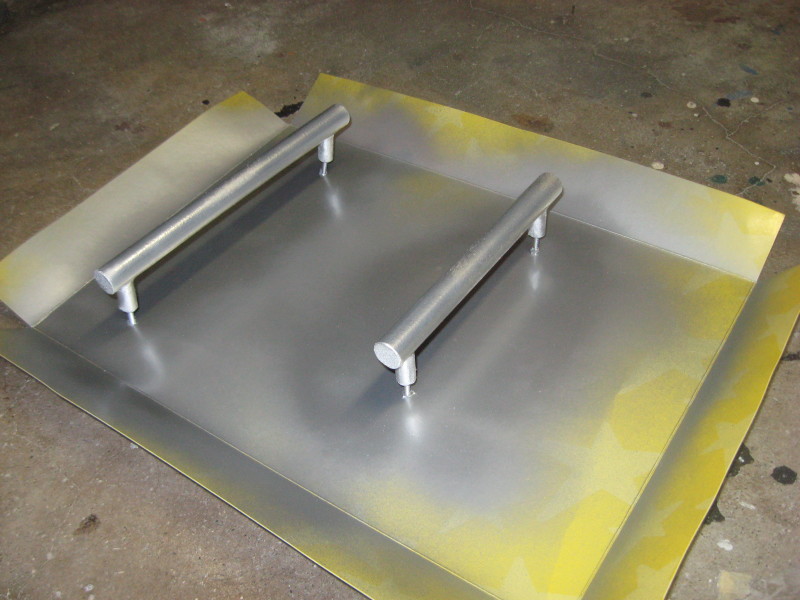
- I primed the refrigerator and freezer doors with magnetic paint before painting them the darker blue to match the kitchen play set. Now she can attach magnets to her completed refrigerator! I love it!
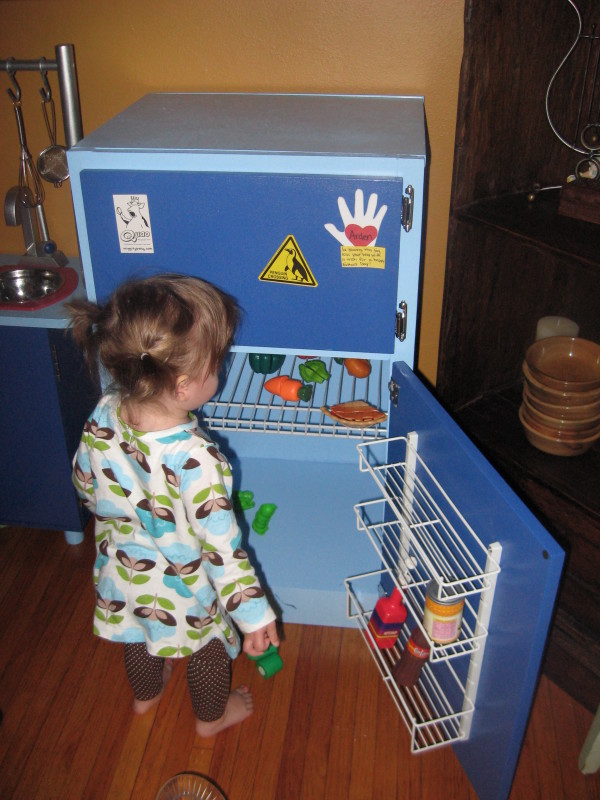
So, here’s the completed project with the kitchen play set I was matching it to. The scale is a little bit off, but I like the size of the play fridge for Arden.
Good luck! This was a pretty ambitious project for me, but I think it was totally worth it and turned out really well. Please feel free to comment with any questions.

I love, love, love this! So cute.
This is so adorable! -Kayla http://www.sheekndivine.blogpsot.com