Arden’s not an exceptionally squirmy sleeper, but she does move around enough to get uncovered and often wakes up cold. We use sleep sacks – Aden + Anais have nice muslin ones that work great, especially in the summer when you just need a little something – but there are never arms on sleepsacks. So, I thought I could figure out some kind of a solution to the problem.
My approach to this went through a couple of iterations. First I was planning to sew buttons to the fitted sheet and then do buttonholes to attach the flat sheet. I figured I’d have to be sure and use extra-large buttons to ensure they weren’t a choking hazard if one should happen to come off. I was also concerned that she’d end up lying on top of a hard button and wasn’t liking that so much. Then I realized I could just use ribbon and not have to worry about buttons at all. So here’s a little tutorial on how I made stay-put toddler bedding:
What you need:
- Fitted crib sheet(s)
- Flat crib sheet
- About 1 ½ yards of ribbon
- Sewing machine that can make buttonholes
- Cute toddler!
I started by first making a cozy crib-size blanket out of snuggle chenille. We’ve got some super-soft and cuddly blankets that Arden loves, but none are hardly any bigger than her and I wanted this to be a mini-version of an adult bed (minus a pillow). I also had to make her a flat sheet. The only place I’ve seen flat sheets for toddler beds is part of a set that includes a comforter and I want to use the blanket from her crib set as a coverlet. I found a white twin sheet on clearance for $4.99 at Target and cut that down to size, finishing the new edges to match the original.
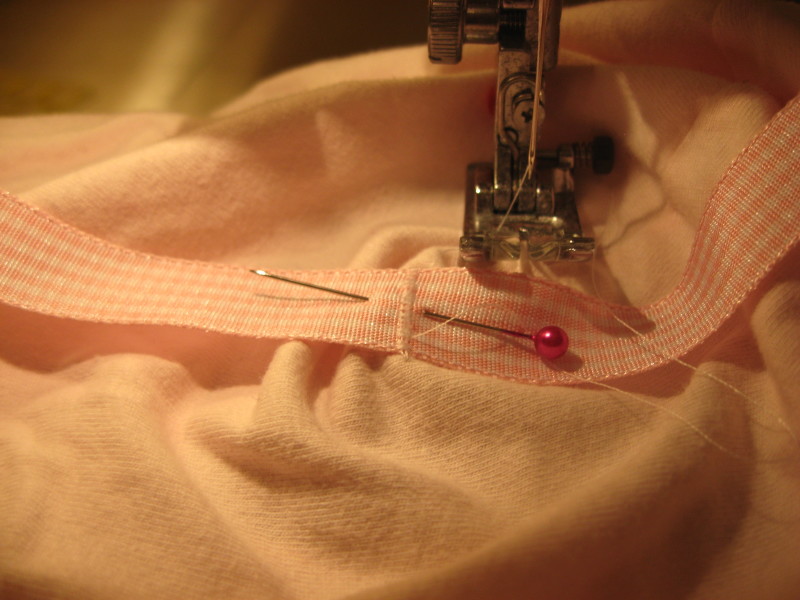
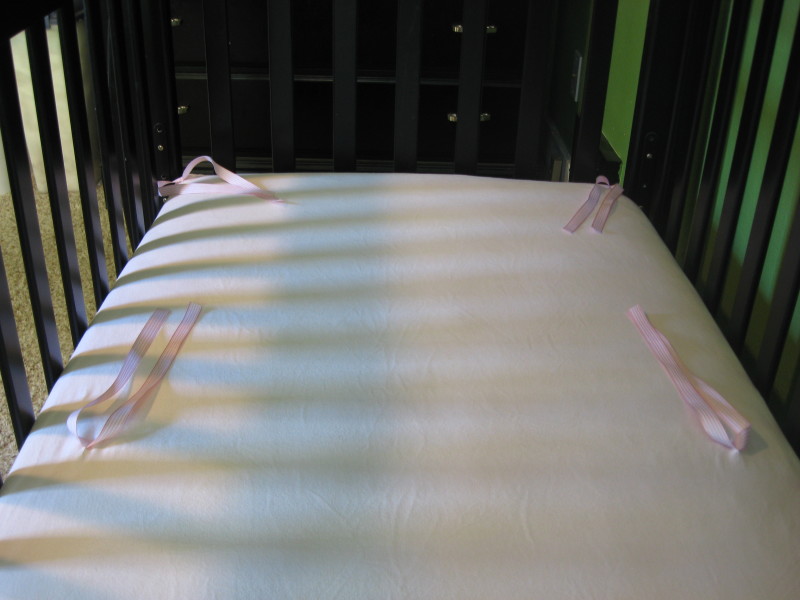
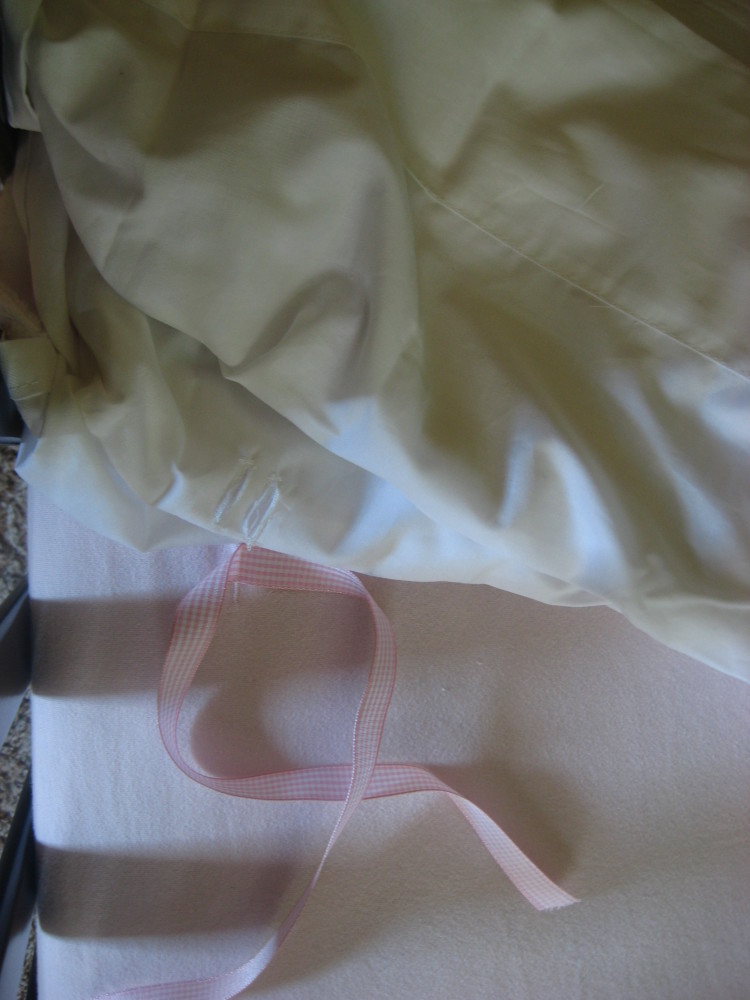
Next, I tacked 18″ lengths of ribbon to the bottom corners of the fitted sheets – about 1″ in from the end of the pocket seams.
And another set about 25″ up towards the middle edges of the mattress. This length is about the distance from Arden’s feet to her chin. This way she shouldn’t be able to get her head stuck under the stay-put part of the blanket.
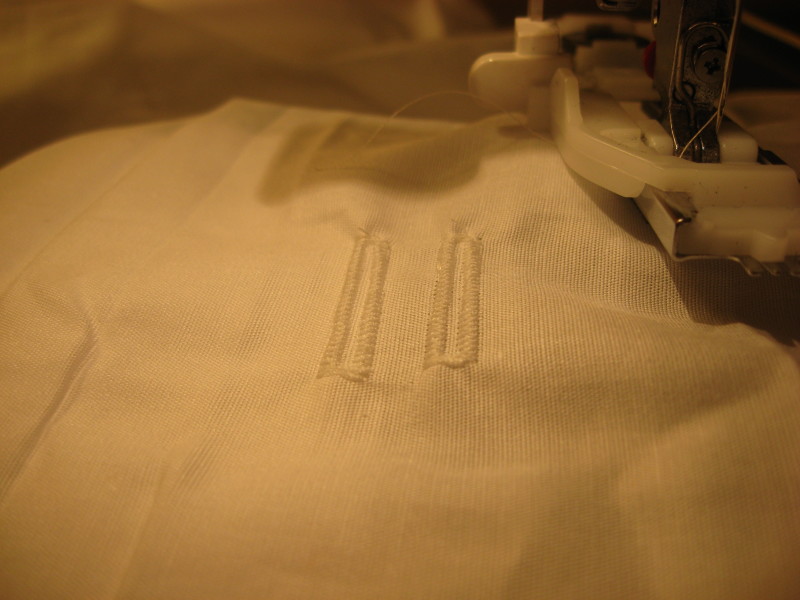
Then I made pairs of buttonholes on the flat sheet to match the placement of the ribbons on the fitted sheet. On the top set, I made them about 1 ½” closer to the edge of the sheet so I wouldn’t be pinning her tight to the bed. My machine does automatic buttonholes using the button to set the length. I just found a button the same width as my ribbon to guide the machine.
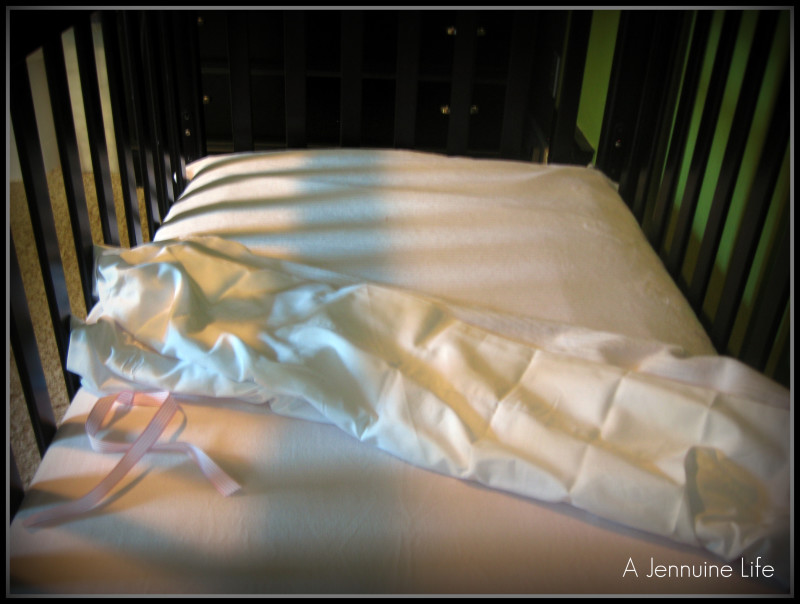
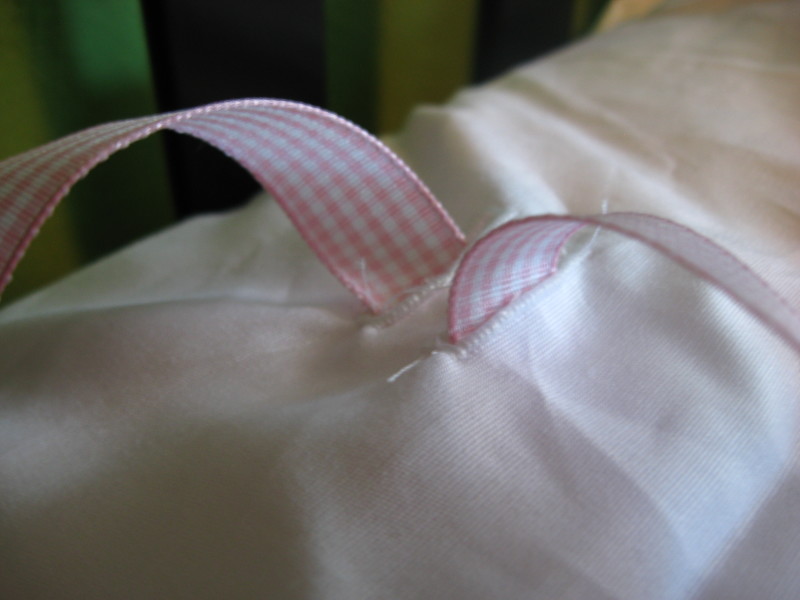
I tucked in the sheet and pulled the ribbons up through each of the buttonholes and tied a bow.
I left the outside center tie undone so we can put her into bed and tie it closed. I had originally planned to do buttonholes on the blanket as well, but I decided that wasn’t necessary. As long as the sheet stayed on top of her, the blanket should as well.
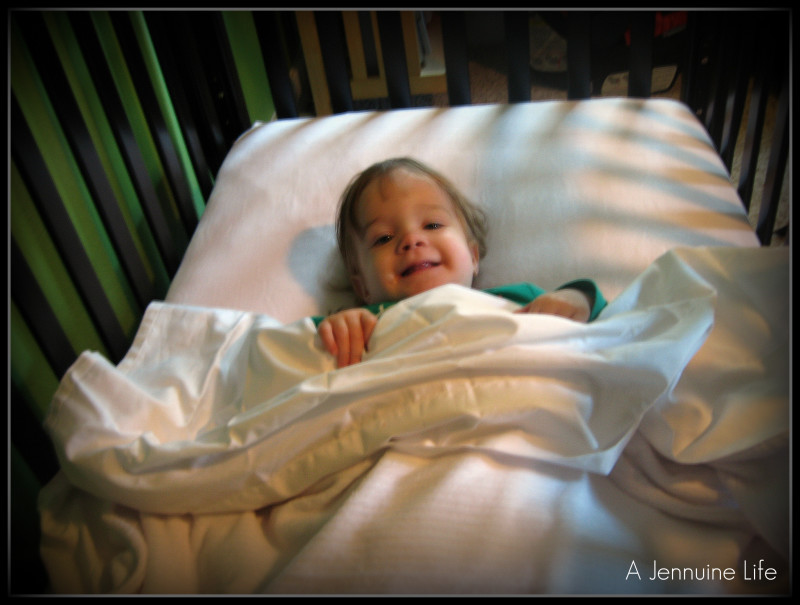
I couldn’t resist a gratuitous cute toddler photo of our test run. She seems to like it, and is snoozing soundly while I put this post together. I’ll add ribbons to the rest of her sheets, and probably make up another flat sheet with the buttonholes. Don’t you just love it? I know I do!
I’ll be linking up to the parties in my Linky Party Directory.

Clever! I remember getting up in the night to cover my kids when they were smaller – it was so nice when they could cover themselves again! Wish I’d thought of this instead.
Thanks! Second night – so far, so good!
Seriously great idea for toddlers. They are so squirmy. It is almost like having a seat belt but still gives them some wiggle room. Thanks for sharing.
Thanks for the comment! I’m happy with how it turned out. Now, if I can just find a solution to the lost pacifier issue! I’ve seen where you can tether it to a toy or blanket, but I don’t know about that… We’re going to wean her off it at night soon anyhow…
Very smart! I now have a 4 year old, but I always sewed the flat sheet to the bottom third of the fitted sheet. On the bigger beds, I sew just the bottom edges. Keeps things easier!
You should come link this up to my Making It With Allie linky Party!
AllieMakes.Blogspot.com
Very clever! Thanks for joining our party this week!
{*Rebekah*}