This project started percolating after I had gone through the bins of my pre-pregnancy clothes for like the third time, trying to see if any of my favorites would fit. A depressing task. I know I have about 20 or so pounds to lose, but I also need to face facts that things just aren’t ever going to be the same as they used to be. My shoulders are even broader, my ribcage has spread, and after 13 months of breastfeeding, the girls have found new resting spots.
There were a couple of shirts that I loved, but I had to resign myself to the fact that even if I lost the weight they simply were never going to fit again. I was inspired by this refashion from Kalleen At Second Street.
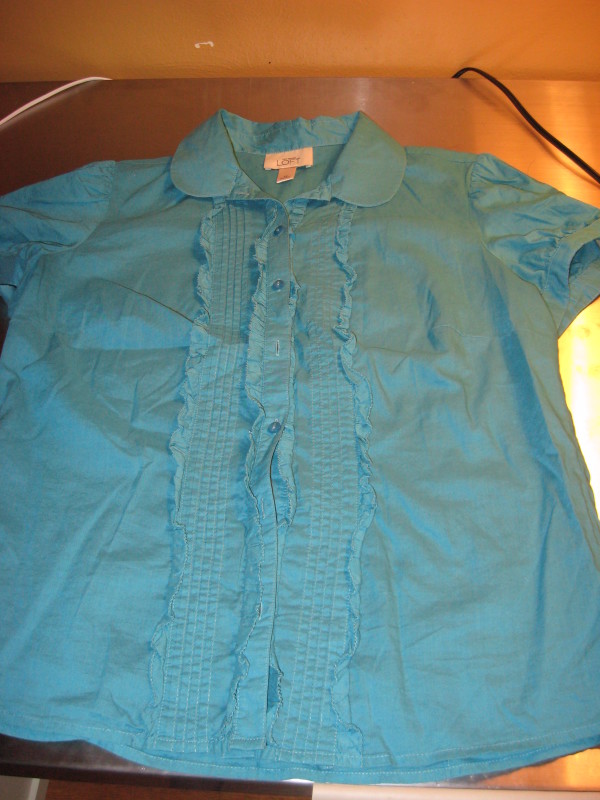
Here’s the shirt I started with. So long, old friend. I loved you well!
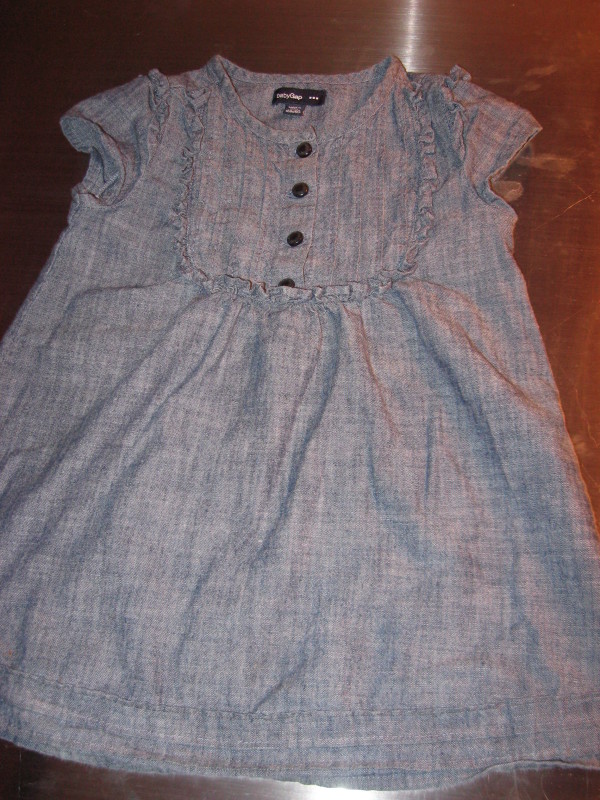
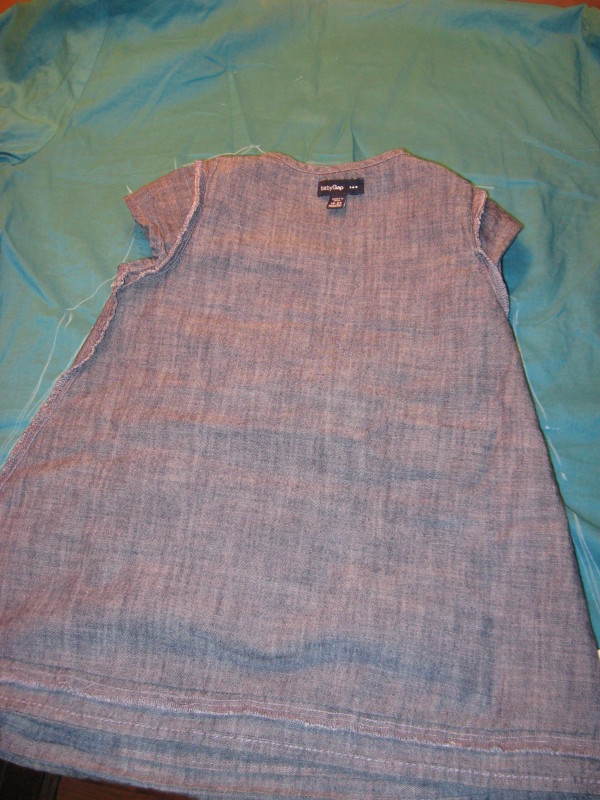
I used a dress of Arden’s as the “pattern”. More on that later.
I started by removing the collar, as the scale of the collar and the neck opening were too large for an 18-month old.
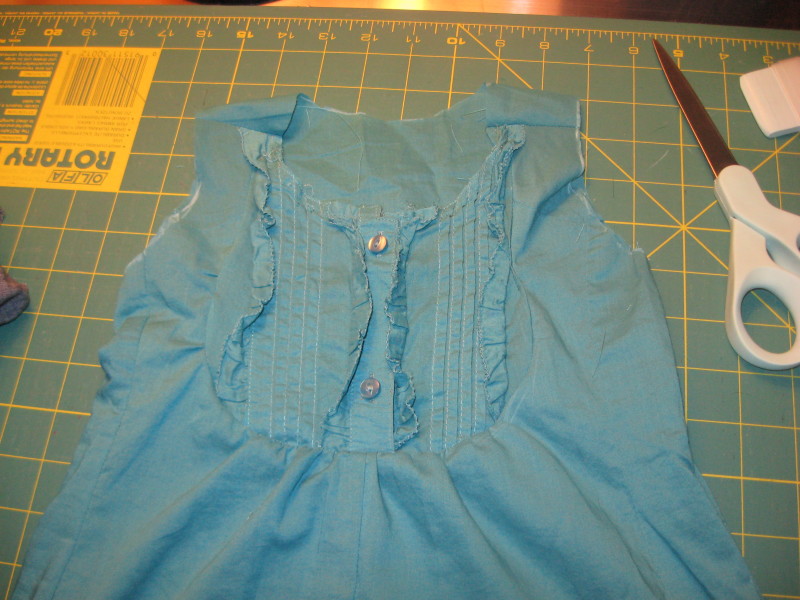
Using the inspiration dress as a pattern and using chalk to mark the cut lines, I cut the bib placket out, and cut the yoke piece for the front of the dress and the back of the dress. I made sure to line up from the bottom of the shirt so I had finished hems to work with instead of having to do my own.
I gathered the bottom part of the yoke piece using a basting stitch and gathering the bobbin thread, just like the inspiration dress shows. I pinned it together matching the gathers along the bottom and sewed in place, and then finished the seams with a overlock stitch, since I still haven’t gotten a serger. I attached the back of the dress to the completed front. I had to rework the armholes and neck hole a little.
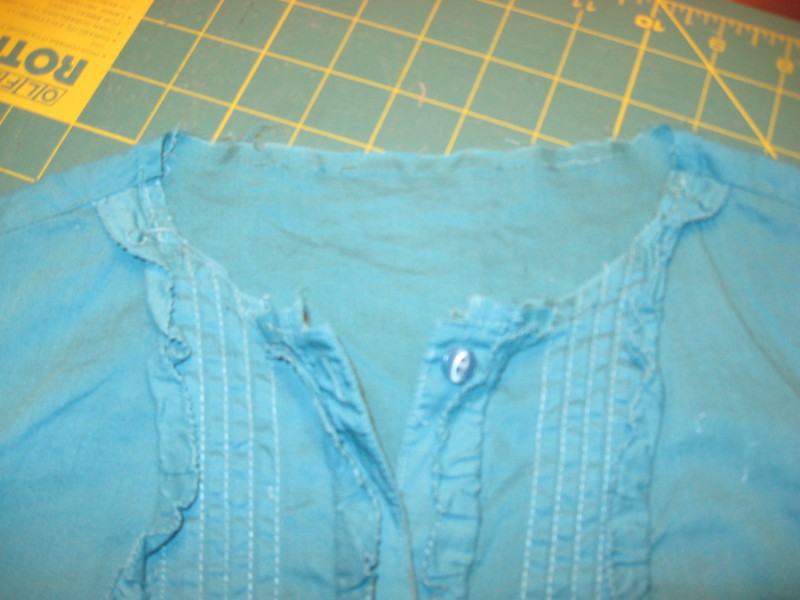
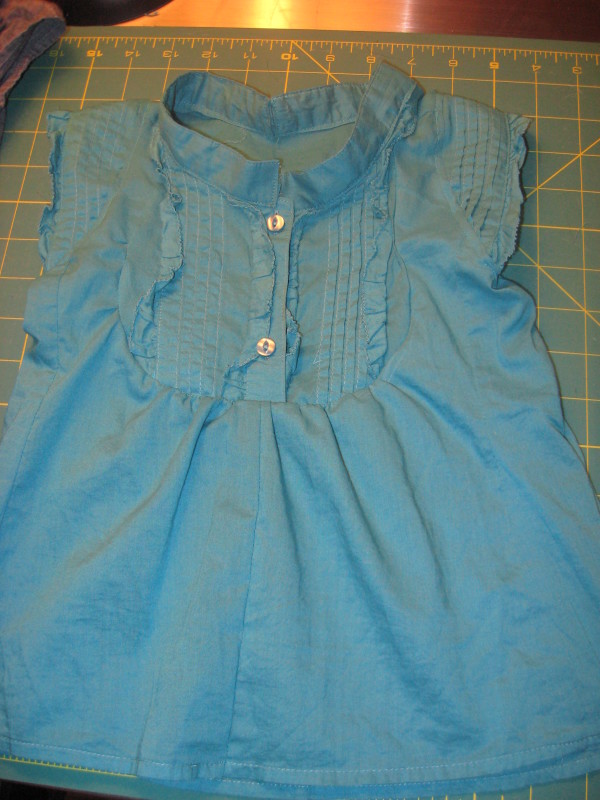
I deconstructed some of the bottom of the pintucked and ruffled placket and used those for the sleeves. I took the cuffs off and used those pieces for the collar as they were a better scale and gave it a bit of a mandarin collar.
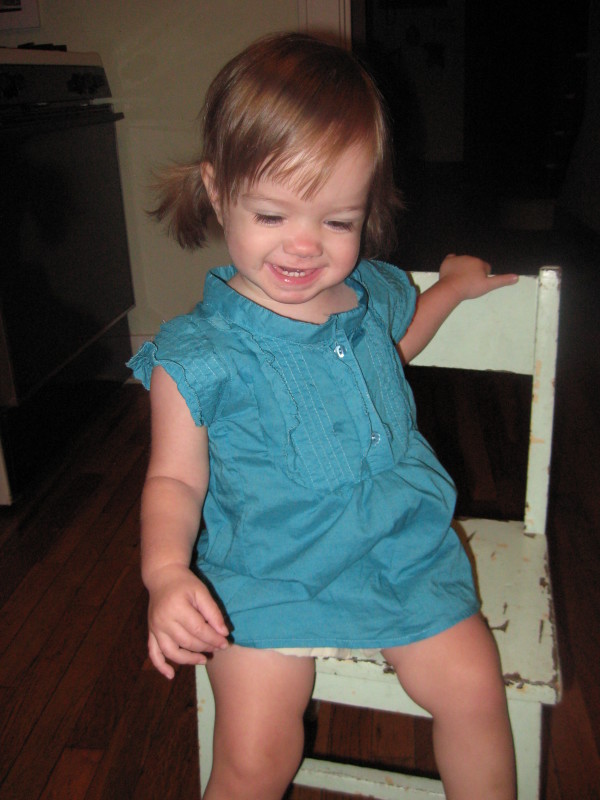
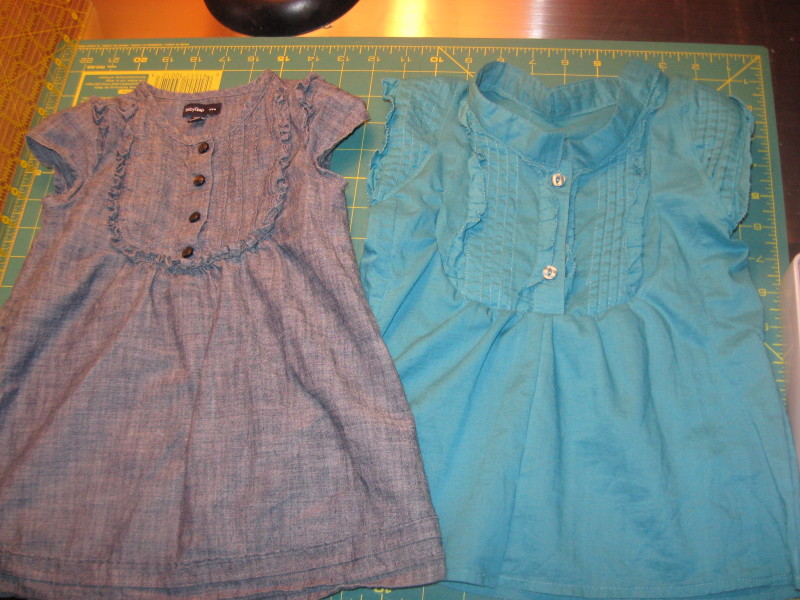
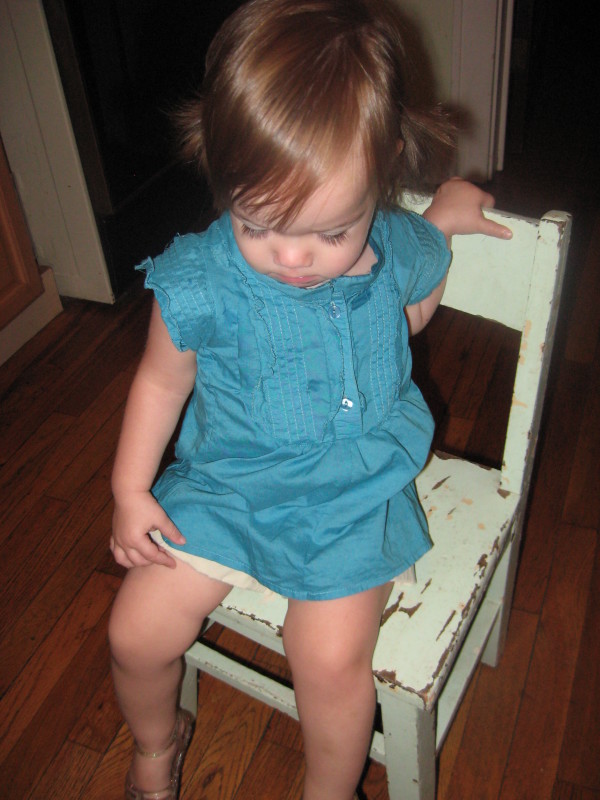
Here’s the finished product next to the inspiration:
It’s totally cute on, and I’m probably the only one who notices the flaws. So, here’s what went wrong and what I learned from my first refashion attempt:
- I should have had or made an actual pattern. I used dressmakers chalk and a constructed dress as my pattern, which ended up being very haphazard.
- I needed to have a better plan in mind before I started. It all came together, but using the placket as sleeves was not my original intention, and I had to piece the front part of the dress together because I had already cut a big hole in the back of my shirt for the dress back.
- This was supposed to be a dress, but it’s more tunic length. Again, I didn’t plan well and a pattern would have ensured that I kept the length.
I have two more shirts that I plan to do something similar with. Hopefully, I can take my learnings from this refashion and get something even cuter next time!
Linking to:



Very cute! Thanks for linking @Creative Itch’s “Sew Cute Tuesday”!
Thanks! I’m just getting the hang of link parties, and having a blast!
that is adorable… I am finally getting my mother-in-law’s grandmother’s old Singer, so maybe creative sewing projects are in my future…. 🙂
Happy sewing! I used my Mom’s circa 1960 sewing machine until just recently when I got a Janome electronic machine. I love it, but still need to try out all the fancy features!
Adorable!