Following the tutorial for The 90 Minute Shirt on MADE, this meets my hour-a-day requirement for the Kid’s Clothes Week Challenge for days four and five. I know it’s called The 90 Minute Shirt, but it took me a bit longer than that, and I had to make up my pattern following the instructions here, also on MADE.
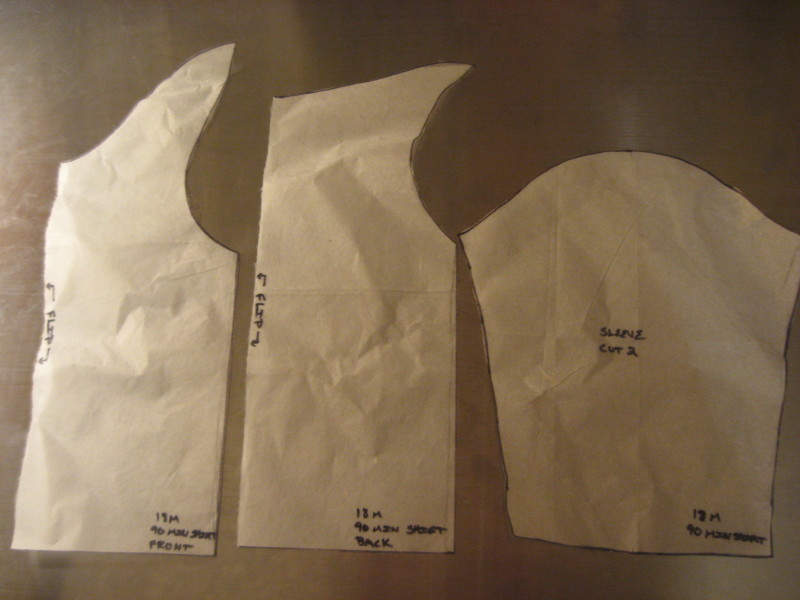
Here are my completed pattern pieces. This part was pretty easy and straightforward. I used a onesie that fit Arden recently, and then used a shirt she’s wearing now to get the sleeve length.
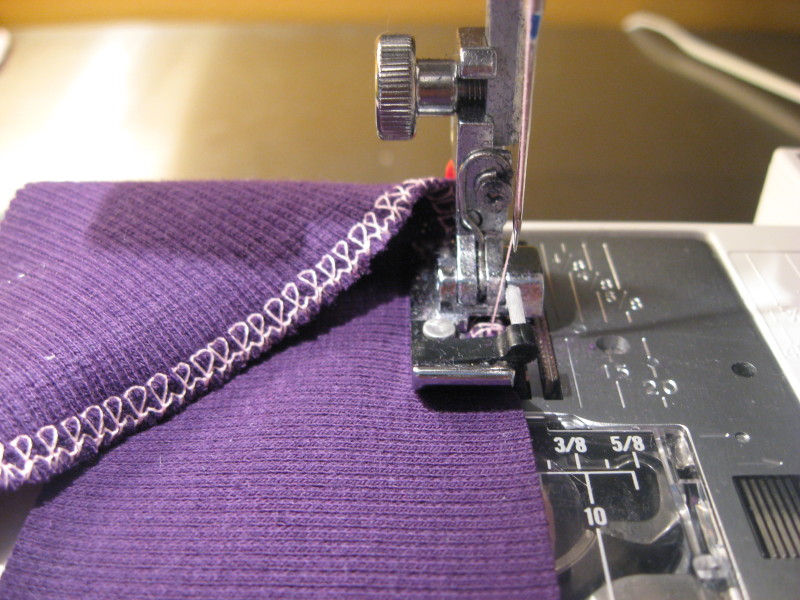
Since I don’t have a serger (Dave if you’re reading this – hint, hint for Christmas!), I found a stitch on my sewing machine that I thought made a close approximation – double overedge.
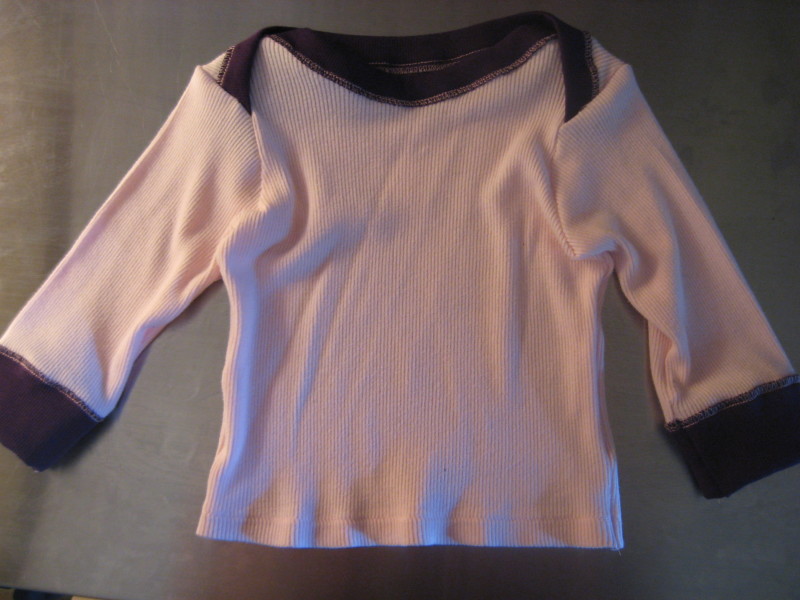
Here’s the finished product. I did exactly what Dana warned about and wrapped the envelope backwards and had to tear it out and do it the right way. This was even after I turned it right side out after pinning. Mostly I think it was because the shirt of mine I used for this project is ribbed and really stretchy, so my front and back didn’t look all that different. I have another shirt and different ribbing to try this again, so I’m considering this a trial run.
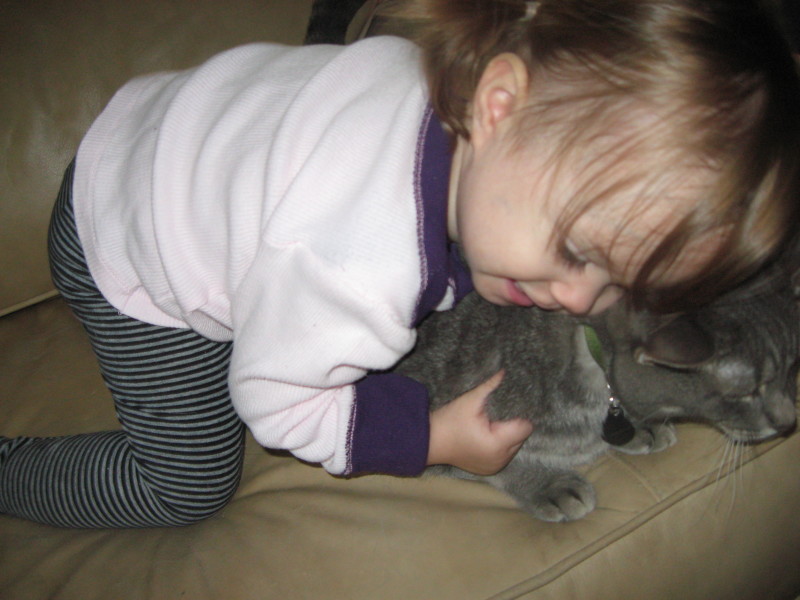
It fits her pretty well, although since the shirt was super stretchy is looks a bit loose. If I do this again with this type of material, I’ll make sure when I pin the ribbing on that I keep the shirt from stretching.
Anyone have any tips on how to get an 18 month-old to sit still long enough to get a decent shot with a point and shoot? I see all these fabulous pictures you all are taking, and I cannot for the life of me figure how you do it. This was one instant after I asked her to sit still for a minute, and then she was off again…
See?


I just saw your comment over at MADE. I think this turned out super cute!