Today we have Hayley from Welcome to the Mouse House with us. I fell in love with Hayley’s sweet designs with lovely hand embellishments on her adorable kids when she competed on (and won!) Project Run & Play Season 5. Her Beaute Classique winning look was just. so. stinkin’. cute!
Now for a little history on chain stitch: It is an ancient embroidery technique; surviving examplesof chain stitch embroidery crafted in silk thread have been dated to the Warring States period, or 5th-3rd century BC. Hand sewn chain stitch embroidery can be worked through only one layer of fabric, which makes it a perfect surface embroidery style and lends itself to embellishment near seams on finished fabric. Since chain stitches can follow curved lines, they can be used to “draw” in thread.
Source:
Now on to the good stuff – here’s Hayley with a perfect example of chain stitch embellishment.
Hey guys! I am super happy to be over here today! My name is Hayley and I blog over at Welcome to the Mouse House, where I post about sewing and craft projects, recipes, family life, and decorating my home. When Jenn asked me to be a part of this series, I knew immediately that I would share my love of hand embroidery. Hand embroidery is one of my favorite ways to embellish clothing and home decor because it makes it extra special.
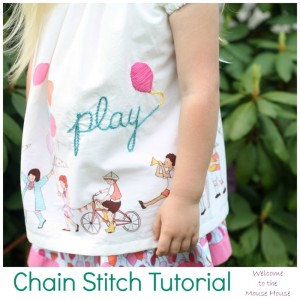
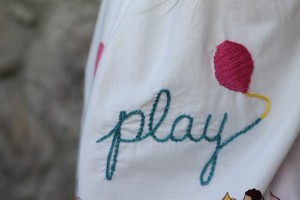
Today, I am going to show you how to do the chain stitch I used for my daughter’s new shirt, so grab your supplies and sew along with me:)
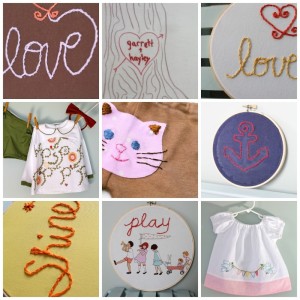
Before I begin, I just wanted to share a few examples of hand embroidery projects I have worked on over the past year:
If you have never hand embroidered, you should really give it a try. It might seem intimidating, but it really is simple and so rewarding.
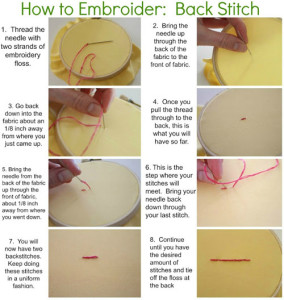
An easy stitch to start with would be a backstitch. A few months ago, I created a tutorial for a basic backstitch over at Sew Mama Sew, which is a great beginner stitch and you can read the full tutorial by clicking HERE.
Okay, let’s get started on the chain stitch now!
(I will share how to do the balloon another day:)
You will need:
*embroidery hoop
*embroidery thread ( I use 2-3 strands)
*scissors
*water soluble fabric marker
*fabric that you want to embroider
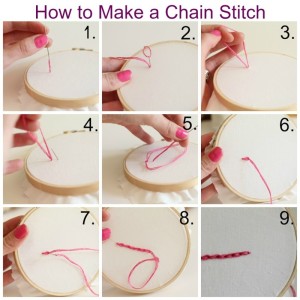
Here is a basic chart for how to make a chain stitch, but I will also describe it in detail below.
Please excuse my chippy fingernail polish… it appears that I am a bit rough on my hands 🙂
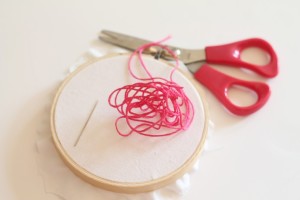
Get your hoop, fabric, needle, thread, and scissors.
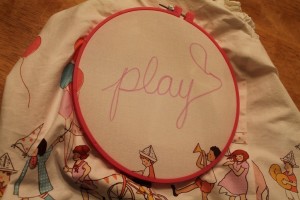
Trace out the words/picture that you want to stitch with your water soluble fabric marker
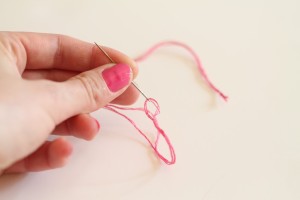
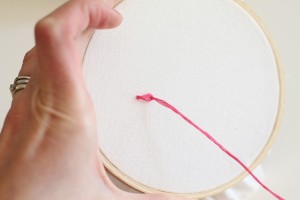
Thread your needle with 2-3 strands, tie the end into a knot.
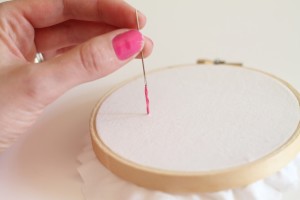
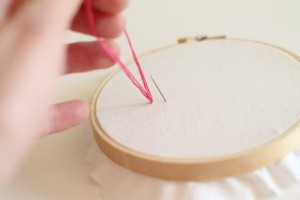
Bring your needle up through the bottom of the fabric and pull all the way through (it will stop because of the knot you made)
Now, go back down through the same hole you just came up through.
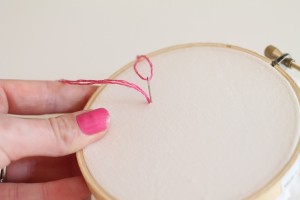
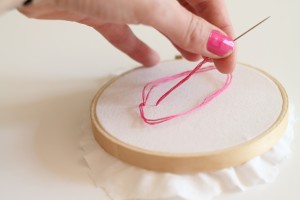
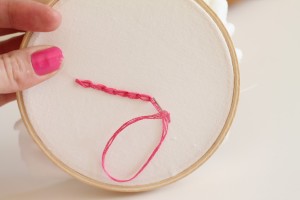
But don’t pull all the way through. Stop when you have created a loop.
Bring your needle up through the fabric again… about a 1/2 inch away from your loop.
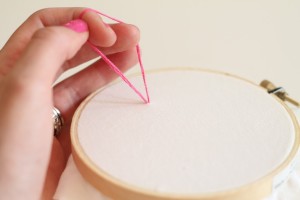
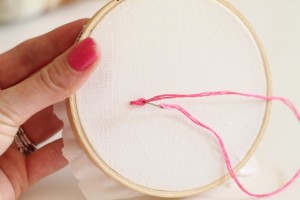
Lay the loop down and bring your thread up through it.
Tug the thread and you have now created your first chain!
Repeat this process. Go back down through the hole you just came up through, create a loop, come up through the fabric, thread through the loop and tug.
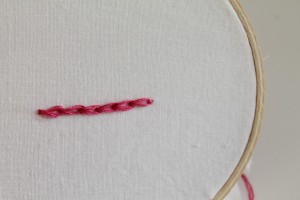
When you are ready to finish your chains, simply go past your last loop and go down through the fabric and knot. This will secure your last loop to the fabric.
Chain Stitch!
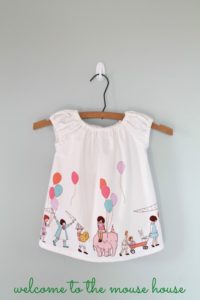
My daughter’s shirt went from cute
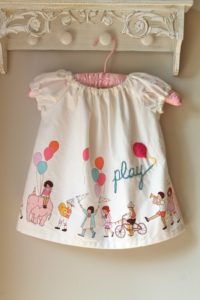
To super duper cute!
And she absolutely loves it
and that is what truly matters
I hope this helps you learn some new techniques. I would love for you to stop by my Facebook Page or Blog to say hi!
Thanks so much for participating in this series, Hayley! And your chain stitch embellished outfit is indeed super duper cute!





Thanks so much for having me over here Jenn!
I haven’t done embroidery for years. I will have to dig out my supplies.
Thanks for the inspiration.
I think even I could do this! Awesome tutorial, thanks for sharing!
Such a charming top on an adorable little girl! Wonderful job on the chainstitching! You are right, it does take it to a higher level.